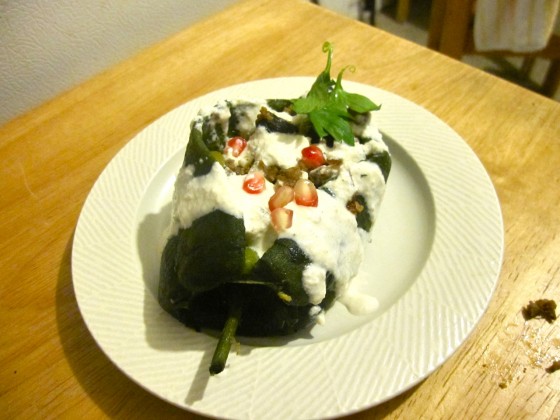


I’m excited to present our newest edition of “The Kid Stays in the Kitchen.” Each week a student is assigned to cook a traditional dish with a friend or family member and document the experience in photos and words. This week features Jessalyn, who prepared a Taiwanese pork and fish soup with her mom.


Soup noodles or no noodles! It’s a peculiar saying, but it’s one that I’ve heard over and over since childhood. If you’re lucky enough to experience the Taiwanese culture and its sometimes weird but delicious food, you’ll find that the Taiwanese have an obsession with soup. And no matter where you go, you’ll never find a good soup without perfectly pulled noodles far behind.
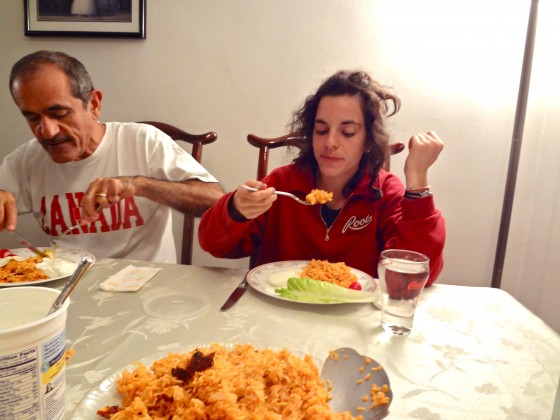
This Taiwanese noodle soup, much like the American chicken noodle soup, is an extremely easy dish to make. But for those like me, who find themselves dropped oceans away from their beloved homeland, it is also the greatest comfort food. Just the smell of searing scallions mixed with soy sauce brings me back to Taiwan during the hot and wet typhoon season. I’d sit at the dinner table with a steaming bowl of soup, wind and rain racking against the roof.
We all know soup is comforting when we’re sick; it’s also liquid life on a cold day. So I encourage everyone to try out this short and sweet recipe! Make your own beautiful Taiwanese noodle soup! — Jessalyn
Taiwanese Noodle Soup: Recipe by Jessalyn’s mom, Wen-yu Chang
Soup Ingredients
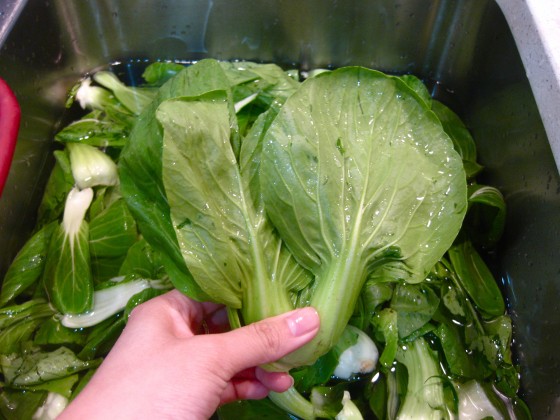
- ½ lb Bok Choy
- 3 Tbsp Soy Sauce
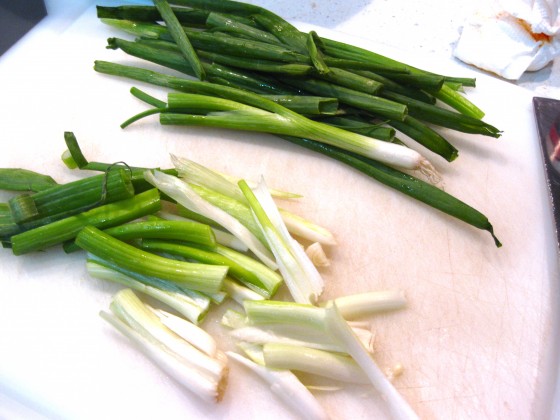
- 5-10 stalks of Scallions
- 8 cups of water
- 1 pack Chinese flat noodles (rice or flour)
- Vegetable Oil
- Sesame Oil
- Salt
- MSG (optional)
- White pepper
Pork Ingredients
- 3 Tbsp Corn starch
- 3 Tbsp Soy Sauce
- 1-Teaspoon Salt
- 1 egg
Recipe
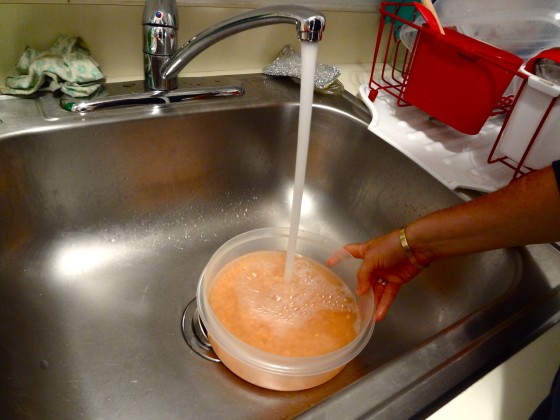
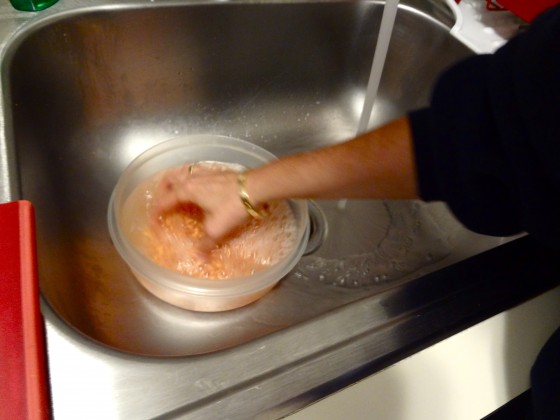
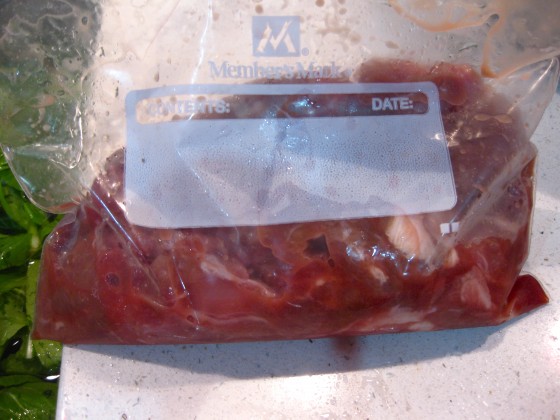
Pre-preparation of Pork (or any type of desired meat or fish)
Use a plastic bag and put about ¼ to ½ lb of meat into it. Add the 3 tbsp of cornstarch and soy sauce and 1 teaspoon of salt to the bag. Crack one egg and whisk till frothy, then add to bag as well. Allow pork to marinate from anywhere to two hours to overnight.
Soup
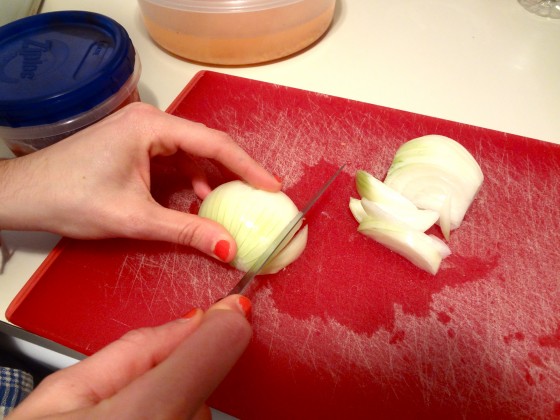
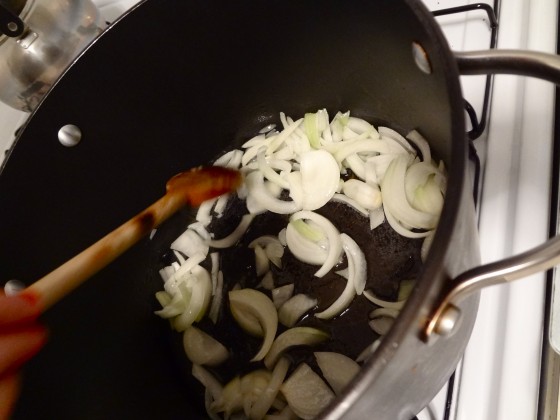
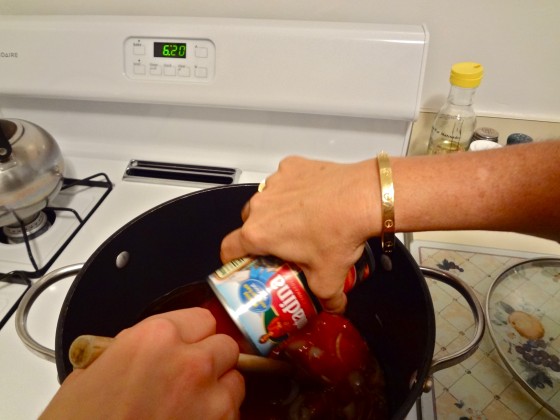
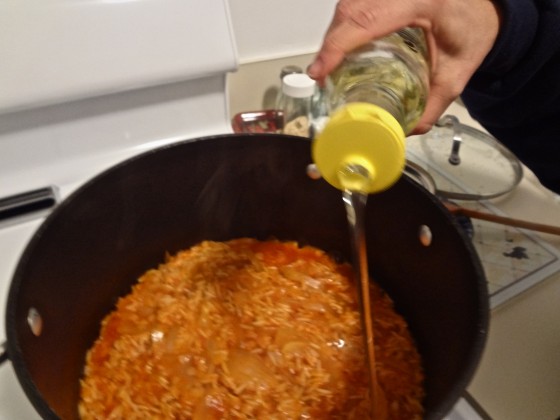
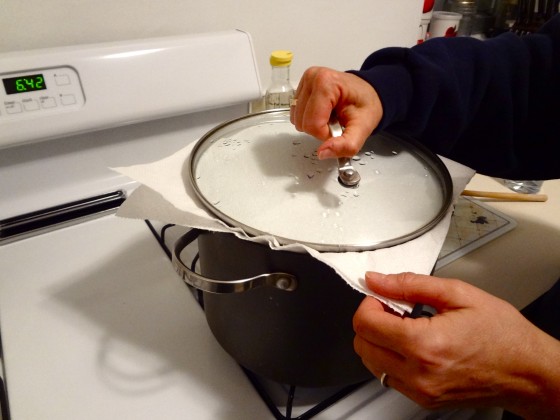
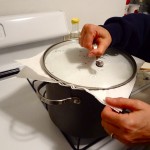
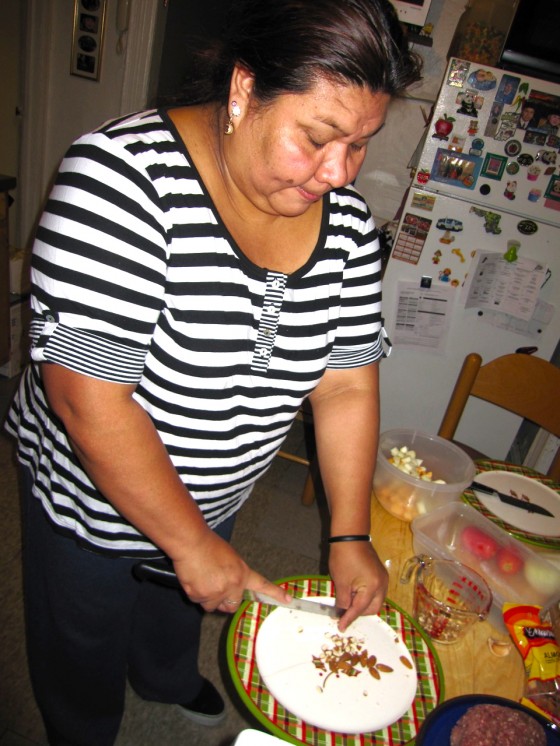
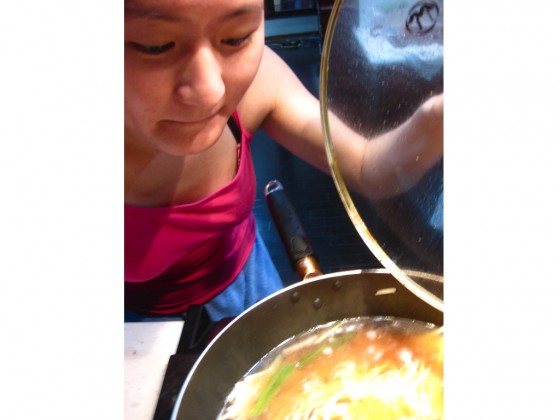
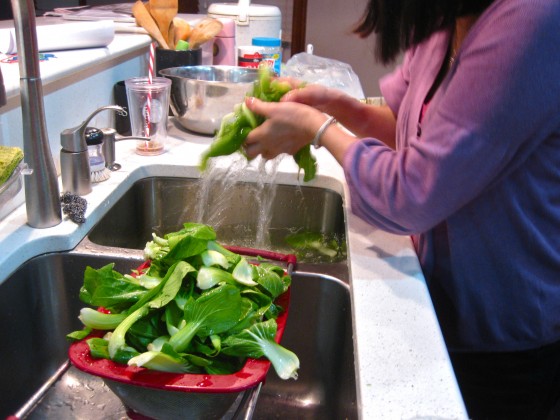
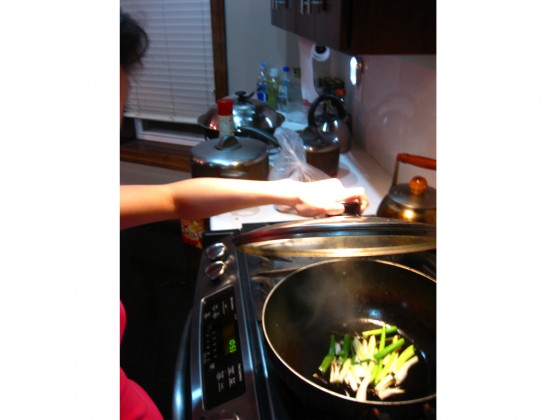
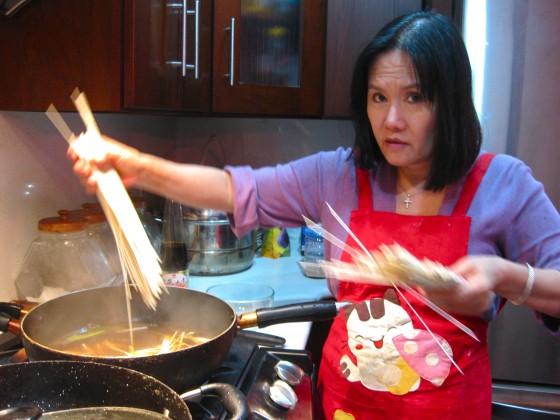
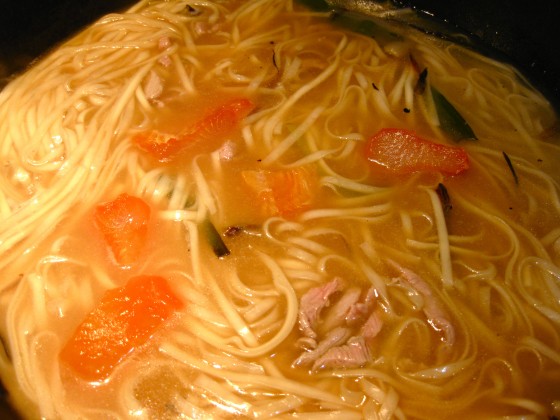
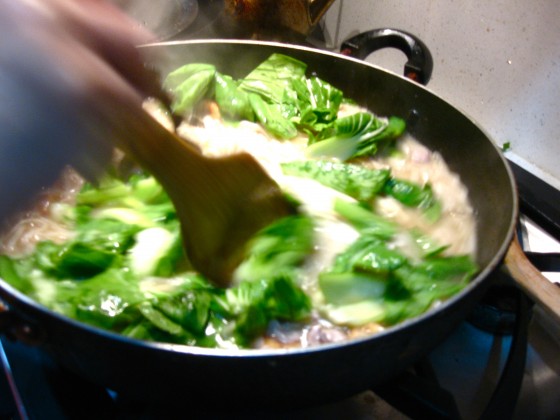
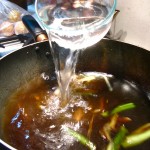
Wash bok choy and scallions with cold water and rinse off twice. Cut each of the scallion stalks into thirds. Heat the pot until steaming hot and add vegetable oil until it creates a layer on the bottom of the pot. Sear scallions till they have a slightly browned, then add 3 tablespoons of soy sauce and 8 cups of water. Let the water come to boil then add noodles and allow to boil for 7-8 minutes. After the noodles are semi-boiled (after the 7-8 minutes) add the strips of pork throughout the soup and noodles. When the water has come to another boil, add the bok choy and cover the lid of the pot. Allow the soup to boil for 6-10 minutes, or until the boy choy has softened. Use salt, MSG, and white pepper as seasoning. Adjust amounts as desired. Lastly, sprinkle some sesame oil into the soup.
Enjoy!