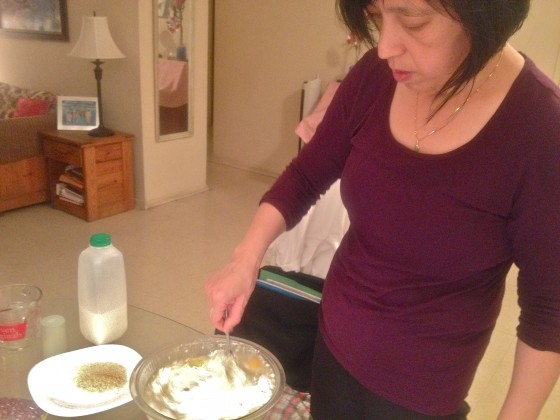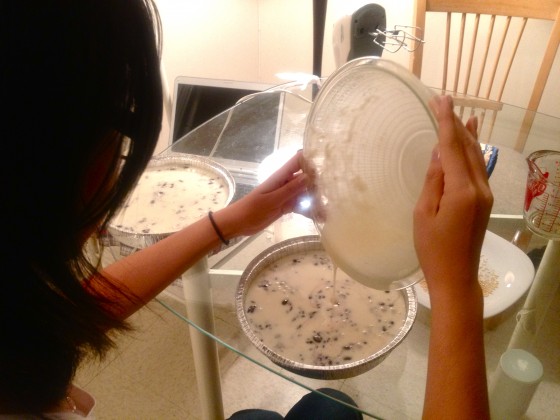

Welcome back to “The Kid Stays in the Kitchen!” Each week a student is assigned to cook a traditional dish with a friend or family member and document the experience in photos and words. Juvella is our star this week and she prepared a traditional Filipino soup called, sinigang.


Filipino cuisine is an absolute joy and a large part of my identity. I grew up tasting two sides of the cuisine. My mother prefers to cook vegetable or “farmer’s” dishes while my father opts for fatty, creamy, and savory meat dishes. With so many options to choose from for this project, my mother finally chose for me: sinigang, a tamarind based soup that can be varied according to preference. Fish, shrimp, pork, or beef are the choices for the main protein, which is accompanied by loads of vegetables such as okra and gabi (taro corm), my favorite veggie choices.
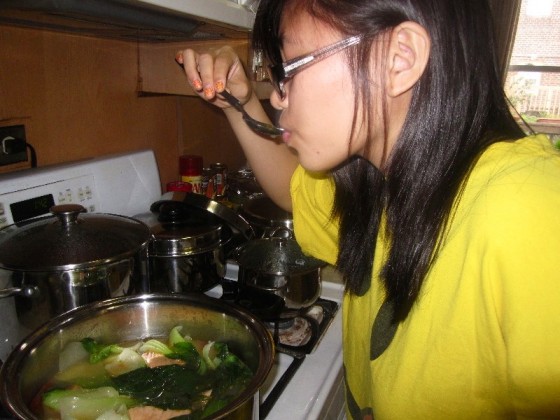
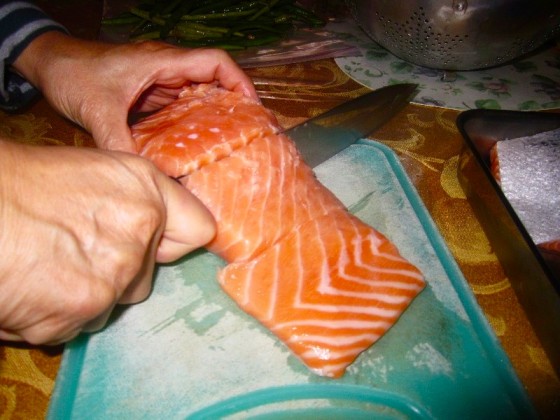
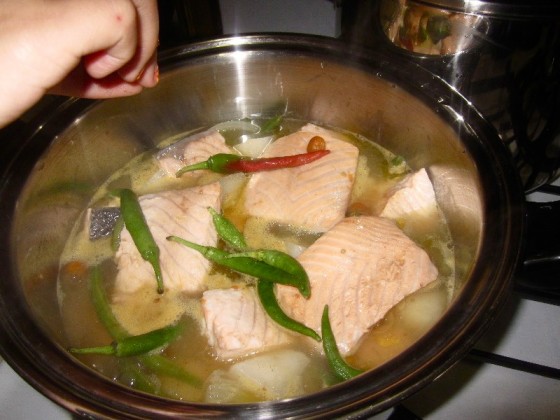
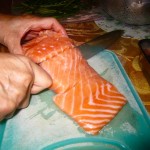
As a child and even now, I prefer having fish in my sinigang. In the Philippines, milkfish is the usual fish associated with sinigang but because it has a lot of tiny bones my mother feared that my brother and I would swallow and choke on them. To play it safe, my mother substituted salmon, either a fillet, the head, or both. When she did use the fish head, my father would always try to get my brother and me to eat the eyes! I ran in horror and begged my mother to only use salmon fillet. But I grew out of that phase and my insatiable love for food is too great to fear the “weirdness” of any dish.
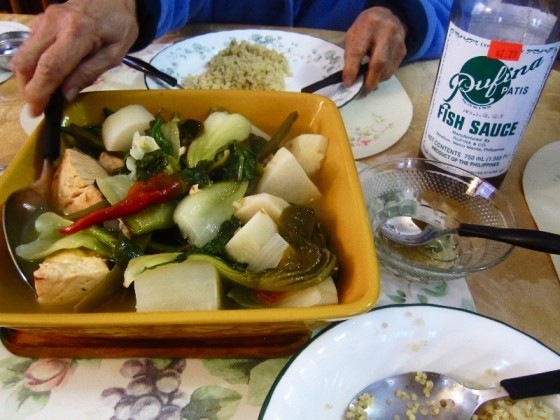
Since the soup has a tamarind base, it is sweet and sour in taste. But no matter how my mom prepares it, I usually go for a sour-salty kick at the end and I load on the patis (fish sauce) and kalamansi (lime). — Juvella
Salmon Sinigang
Recipe by Juvella’s mom, Veronica
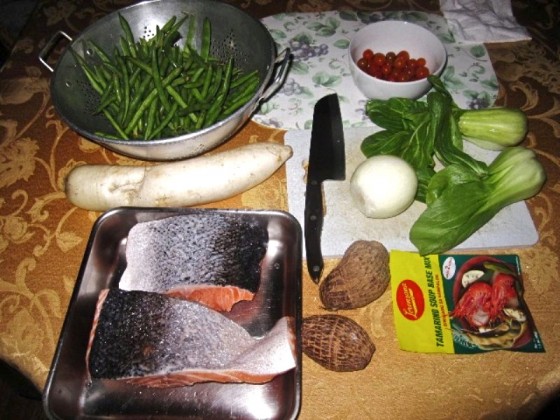
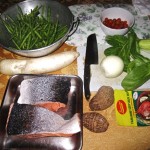
Ingredients
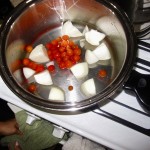
• 1 yellow onion
• 2 pieces salmon filet
• Tamarind soup mix
• 2 medium taro corms (gabi)
• 1 cup cherry tomatoes (or equivalent)
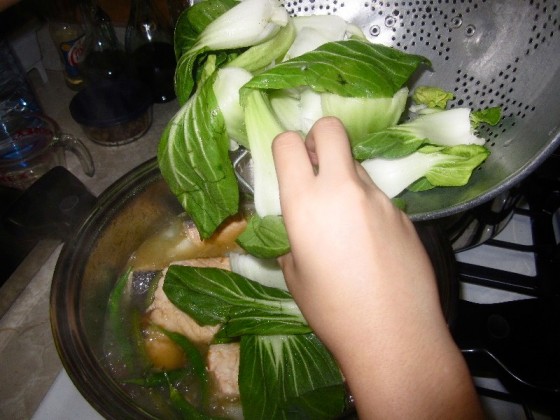
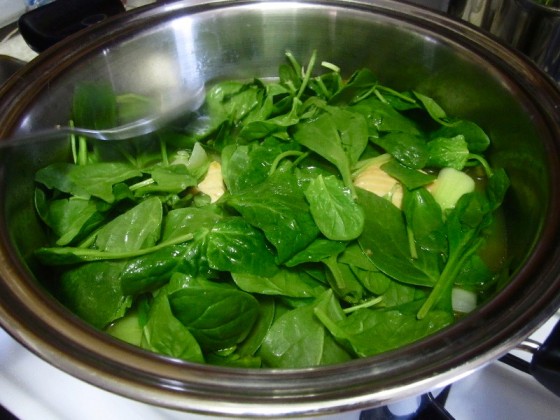
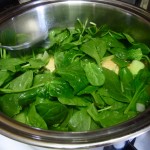
• Leafy vegetables (bokchoy, spinach)
• 6 cups water
• 1 lb green beans
• Salt or patis (fish sauce)
• Any other vegetables (eggplant, okra, daikon radish)
• 3 pieces long (hot) peppers
Directions
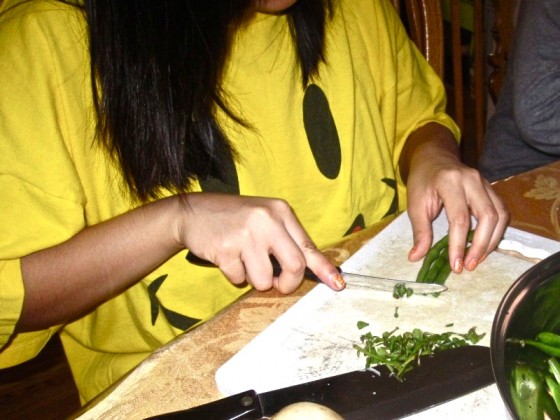
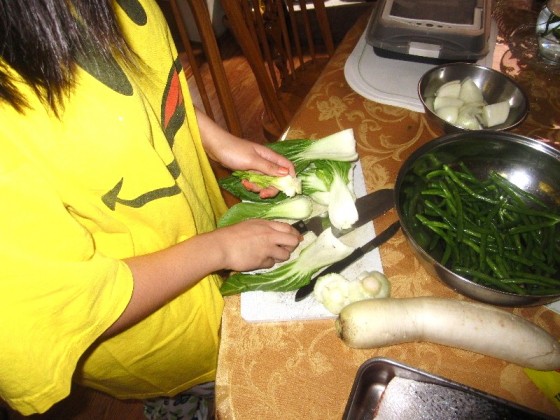
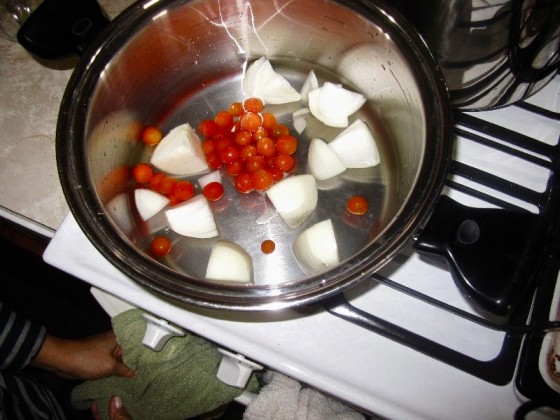
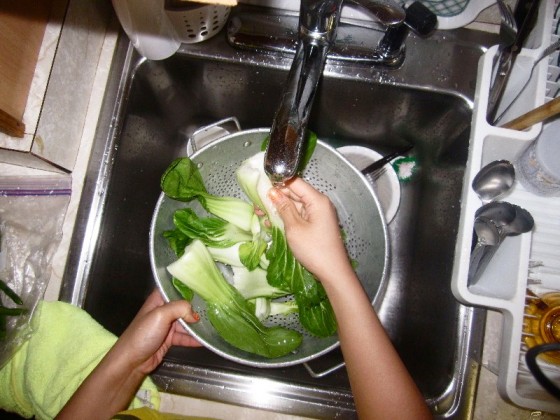
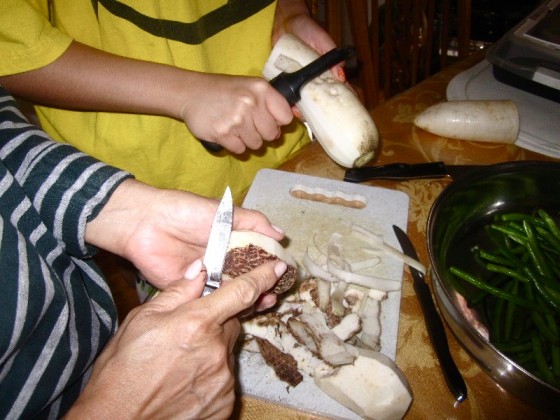
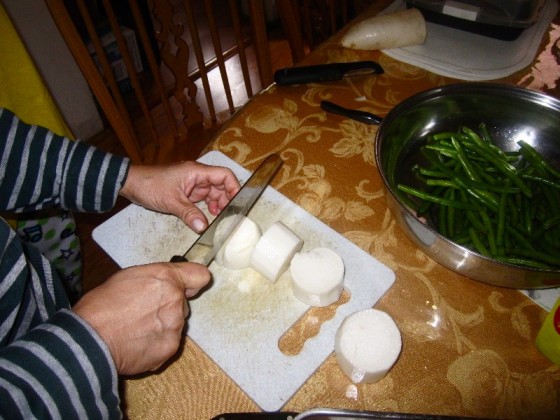
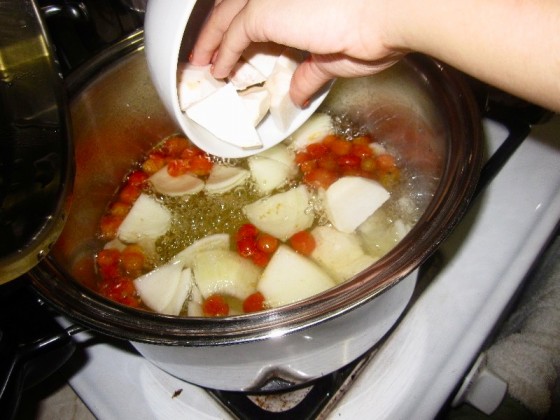
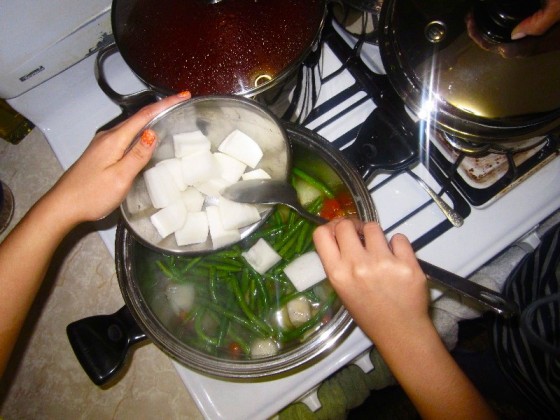
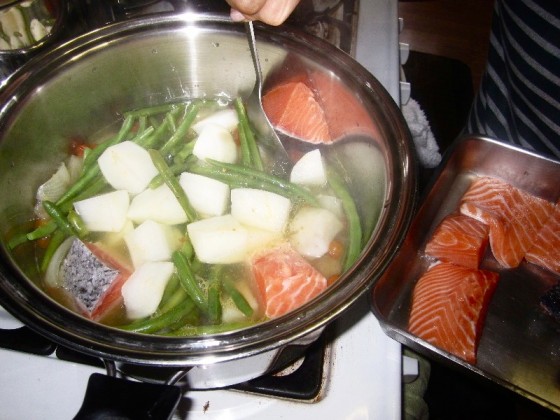
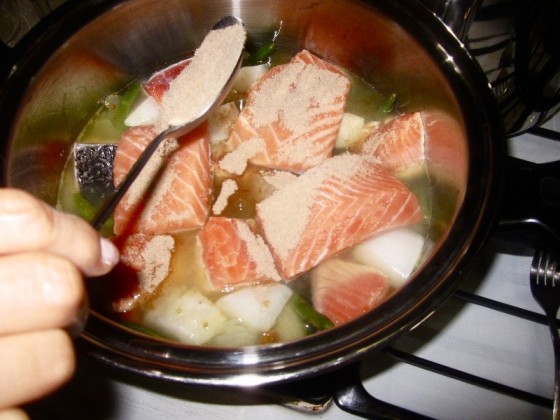
Peel the gabi and daikon radish. Wash all vegetables before cutting into serving size pieces. Cut the onion in half then into quarters; repeat for the gabi and half of the daikon radish. Cut off the tips of the green beans. Wash the salmon and cut into serving size pieces. Boil the water in a large pot, then add the onion and either diced or cherry tomatoes. When the tomatoes are soft, add the green beans and gabi. Boil the vegetables until the beans and gabi are half cooked, which can be determined using a fork. For the beans, the fork should be able to go through but still be crisp and the gabi should be partially soft. Then, add the salmon. Season the soup with the tamarind soup mix and salt or patis to taste. Add the leafy greens and long (hot) peppers. Do not stir or else the vegetables and fish will be mushy. Cook until the salmon flakes easily. Serve hot with rice or quinoa.