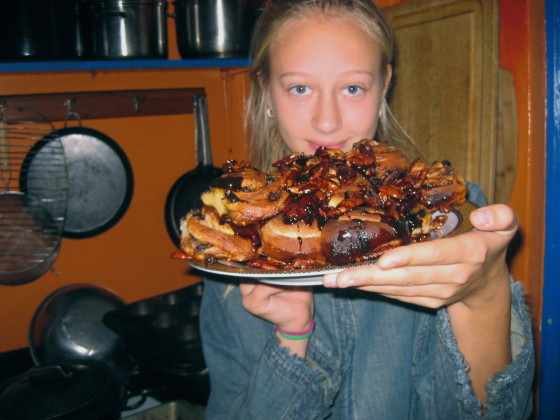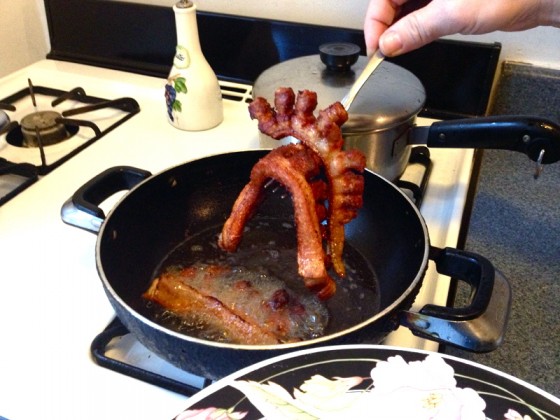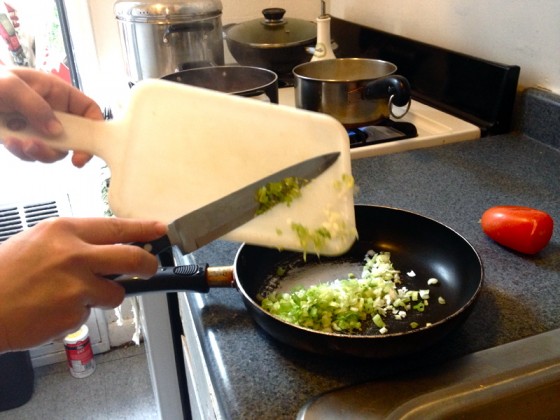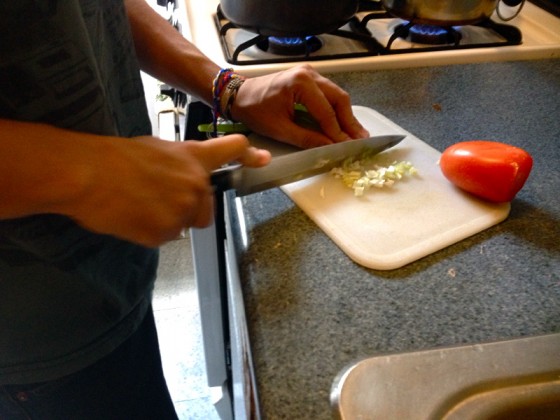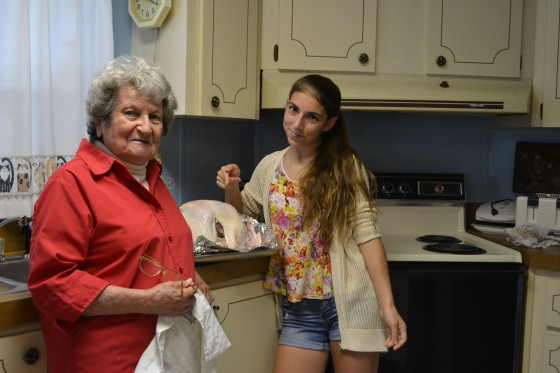


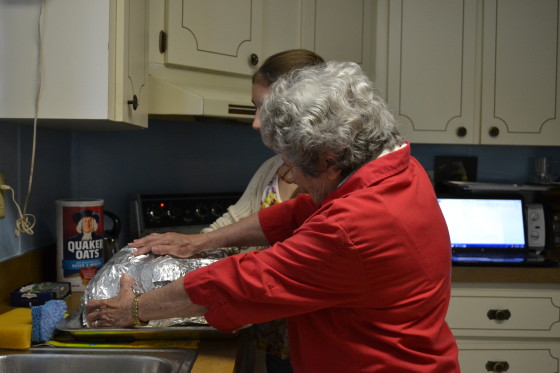
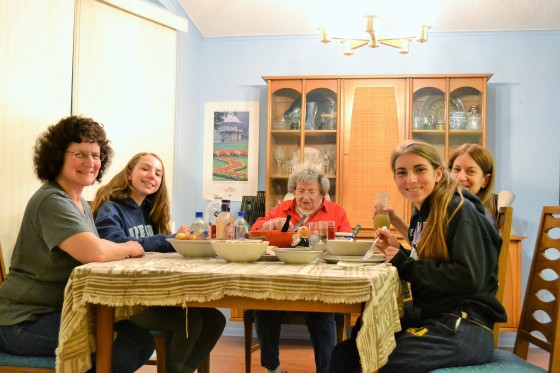
Welcome back to “The Kid Stays in the Kitchen.” Each week throughout the semester, a student is assigned to cook a traditional dish with a friend or family member and document the experience in photos and words. This week features Galit, who braved some drama to deliver a roast turkey dinner with her grandma.
“Grandma’s Turkey Dinner” has become famous in my family, and it’s an event each year. My family are Ashkenazi Jews from a smattering of countries in Europe such as Poland, Germany and Russia. But because of the Jewish tradition of kashrut, we do not consume non-kosher meat and therefore are unable to eat the turkey at the Thanksgiving dinner we attend each year. So, the need for turkey is always fulfilled when we visit our Grandma’s house in Florida each February.
As I mentioned, this dinner is quite the event for us and last year was no exception. In addition to the ingredients and love, she also added a dose of drama to the evening! Grandma and I made the mistake of basking in the hot Florida sun that afternoon before we made our meal and it turned out the turkey was not the only item to get cooked. When Grandma was slaving away in the kitchen later that evening she collapsed next to the turkey. We called an ambulance and she was rushed to the hospital. In the end, my Grandma was fine and although she gave all of us a panic attack, she insists that we overreacted and she would have been fine if she just got up and had a glass of orange juice. Oh Grandma!
This year, making a turkey with my grandmother was thankfully less dramatic and now I can appreciate all the dedication that goes into this tradition which I hope will be continued for years to come.”
INGREDIENTS:
Margarine
Turkey (13.8 lbs.)
Garlic Powder
Pure Ground Black Pepper
Paprika
Potatoes
Sweet Peas
Whole Kernel Corn
Dinner Rolls
Jellied Cranberry Sauce
RECIPE:
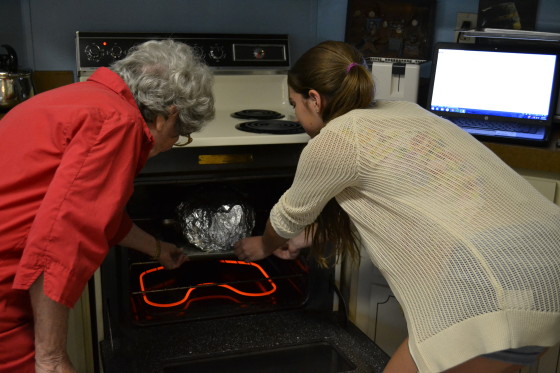
- Defrost Turkey for two days (in fridge).
- Pre heat oven to 325 F.
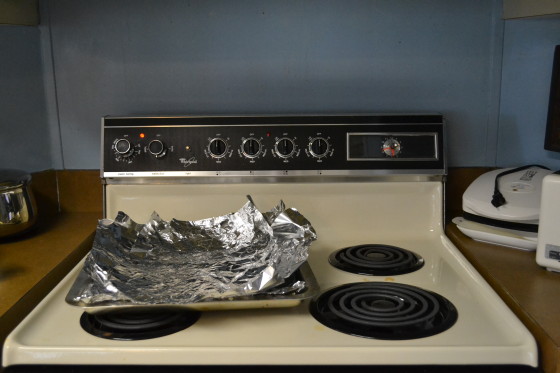
- Line pan with aluminum foil.
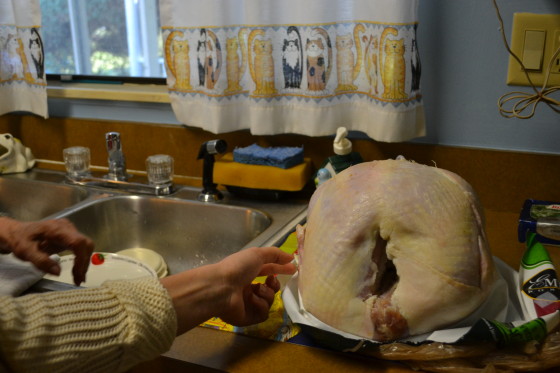
- Unwrap Turkey and take off extraneous feathers.
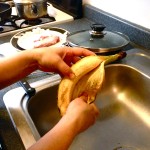
- Wash Turkey (inside and out!) under cold water.
- Remove extra fat, neck, and any loose internal organs.
- Place Turkey on pan.
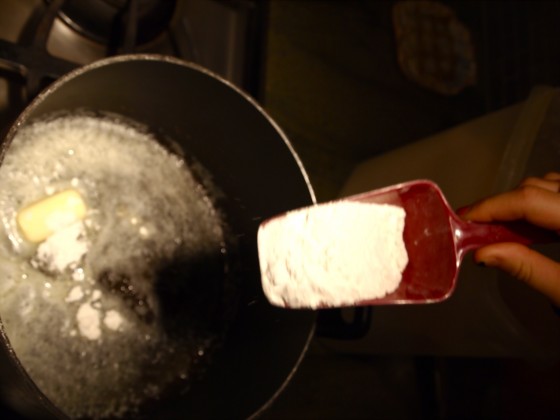
- Take a handful of Margarine, and rub all over the Turkey (including under its wings and legs).
- Sprinkle paprika, pepper, salt, and garlic all over Turkey (about 1 tablespoon of each).
- With aluminum foil on pan, and more if needed, completely wrap the Turkey so that no part of it is visible.
- Place Turkey in oven and bake at 325 F for 25 min/ pound. When there are 30 min left, remove aluminum foil and allow Turkey to continue cooking (to brown).
- Remove Turkey from oven and cool for 1 hour, then carve to your liking.
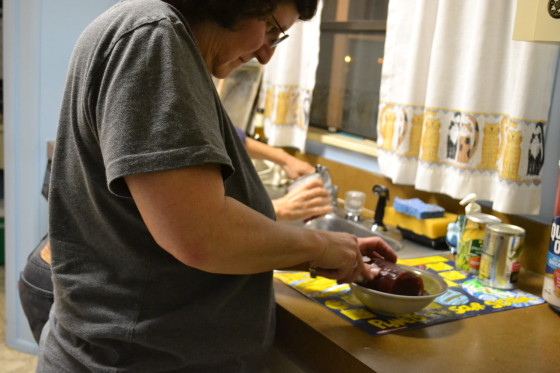
- Wash large, plump baking potatoes and prick three times with fork.
- Place in oven at 350 F for one hour.
- Remove and mash with salt and margarine.
- Remove lids of cans of peas and corn, and allow water to leak from cans.
- Pour contents of cans into bowl and microwave each for 1 minute 30 seconds.
- Open can of Jellied Cranberry Sauce and pour into bowl and slice.
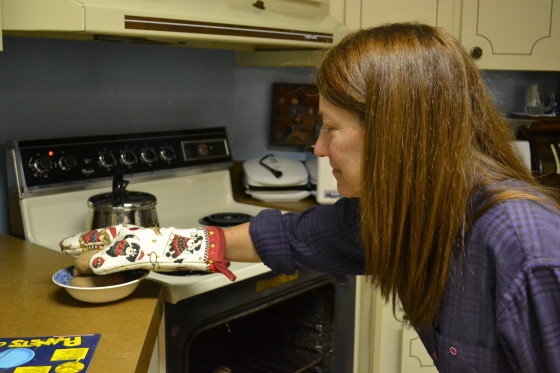
- Preheat oven to 425 F.
- Remove rolls from package and separate.
- Place on ungreased baking sheet.
- Bake seven to ten minutes.