The Kid Stays in the Kitchen: Mateo’s Bandeja Paisa

IMG_0454
IMG_0485
IMG_0479
IMG_0477
IMG_0475
IMG_0474
IMG_0473
IMG_0471
IMG_0470
IMG_0469
IMG_0467
IMG_0464
IMG_0463
IMG_0460
IMG_0458
IMG_0456
IMG_0410
IMG_0446
IMG_0443
IMG_0441
IMG_0440
IMG_0437
IMG_0436
IMG_0435
IMG_0433
IMG_0430
IMG_0427
IMG_0424
IMG_0422
IMG_0420
IMG_0417
IMG_0415

Welcome back to “The Kid Stays in the Kitchen.” Each student is assigned to cook a traditional dish with a friend or family member and document the experience in photos and words. This post is contributed by Mateo who comes from Colombia and he decided to make a dish from his region, Paisa.

Bandeja Paisa by Mateo
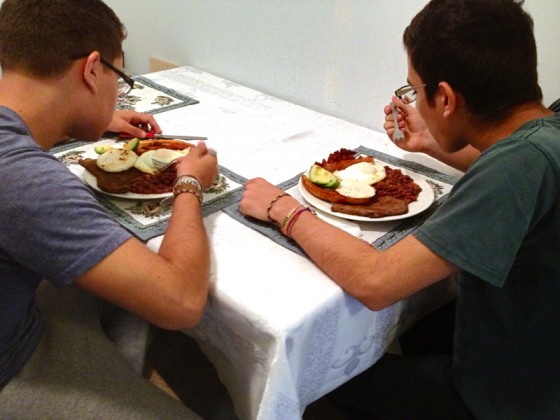
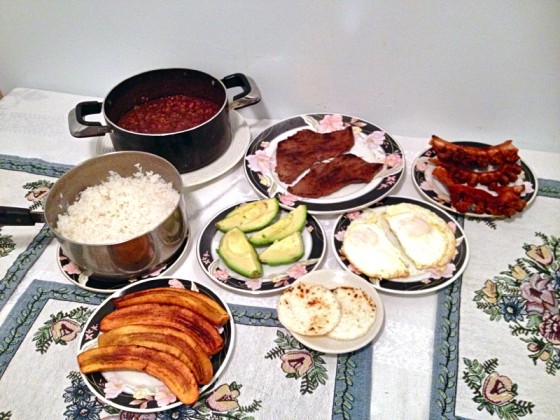
The bandeja paisa is a culmination of various ingredients, generously served on large plates or platters popular in the Paisa region of Colombia, my home country. Having been born in Colombia, I was blessed with the ability to experience its raw culture and with it, the delicious food. This particular dish contains many ingredients and although slight variations may exist, the one I learned to love consists of beans, rice, chicharrón, steak, plantain, fried egg, and an arepa.

Bandeja paisa covers a great deal of the food pyramid and surely requires an empty stomach to fully devour it. As a child, I would always have to share the dish with my brother, unable to eat it all by myself. Consequently, the bandeja paisa represents stability in the household and gives rise to a feeling of gratitude for all of the things we have.

Luckily for me, bandeja paisa has become a common dinner at my home. But of course, due to its size and preparation time, my mother has made some adjustments to the ingredients (just rice, beans, chicharrón, and an egg). Nonetheless, this blend of different elements just works. From a young age, I can remember devouring the beans with rice and always preserving the last bit of crunchy chicharrón until the end.

More than anything, the bandeja paisa brings my family together, connecting us beyond our original borders, making it the ultimate comfort food.

Recipe for Bandeja Paisa by Mateo’s mom,
Serves 4

Ingredients
• 3 cups red beans
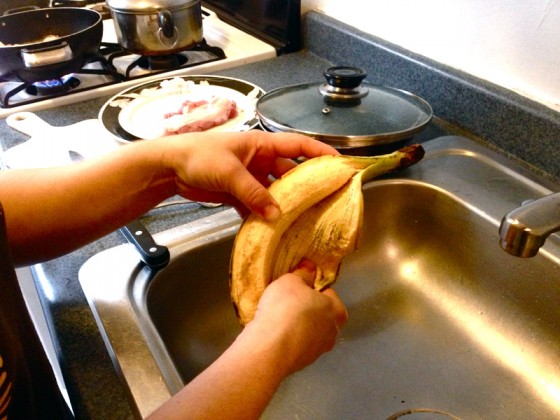
• 1 yellow plantain (maduro)
• 1 green plantain
• 1 tomato
• 2 scallions
• Salt
• Oil
• 1 cup of white rice
• Water
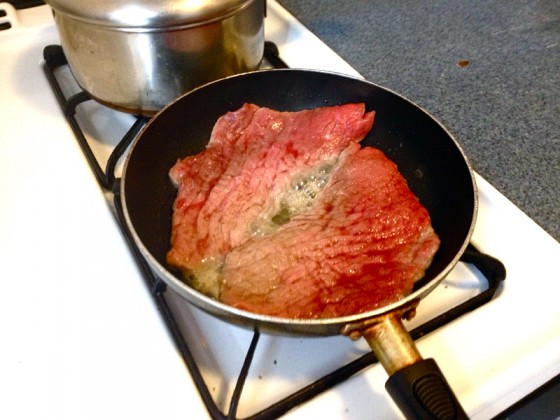
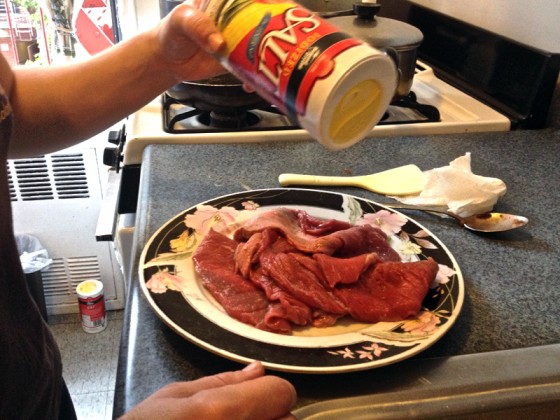
• Steak
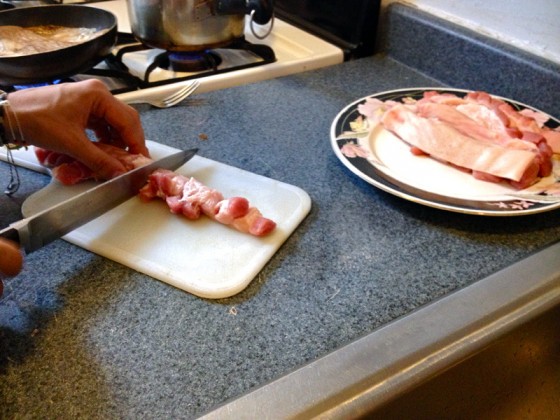
• Chicharrón
• Arepa
• 1 egg for each person
• 1 avocado

Directions
Beans
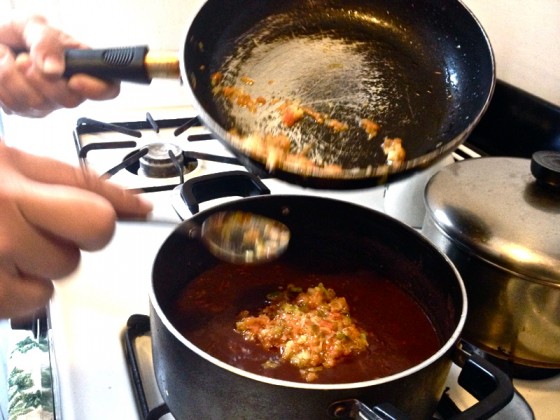
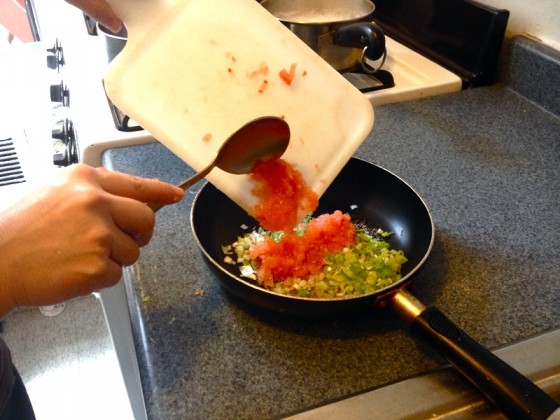
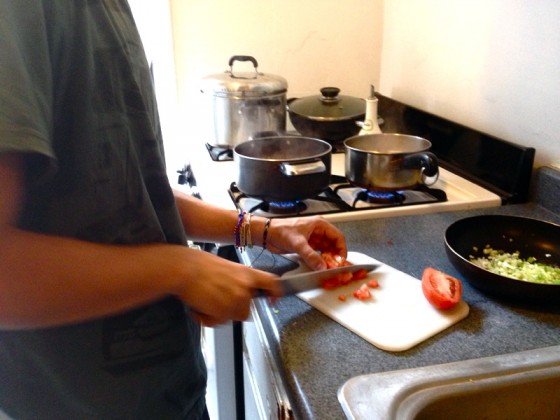
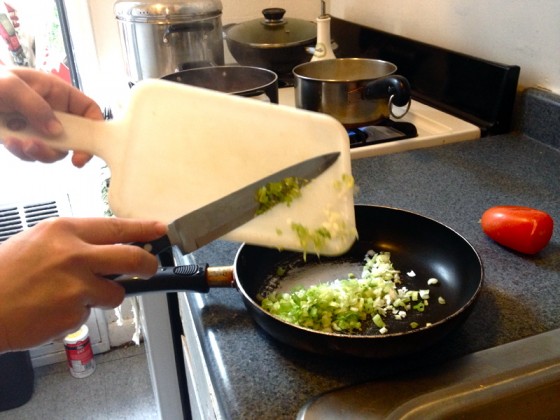
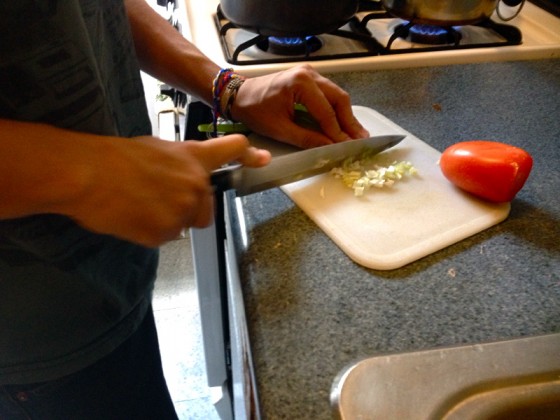
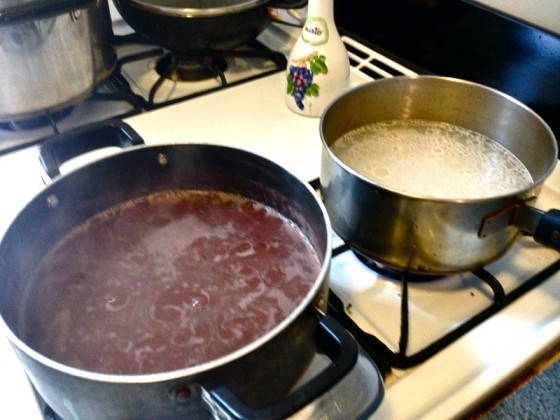
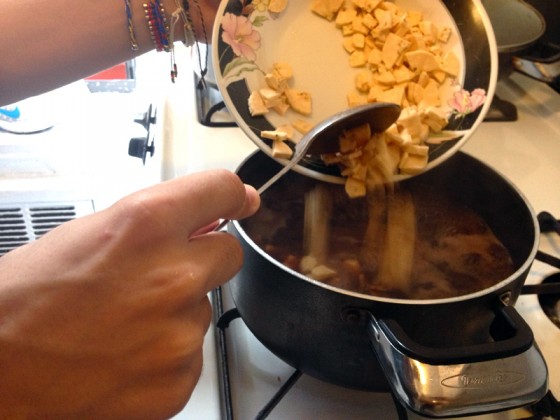
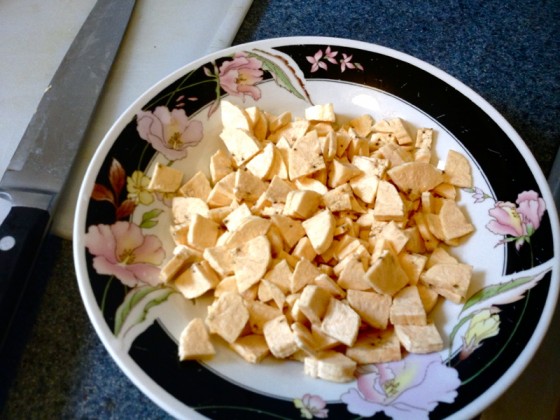
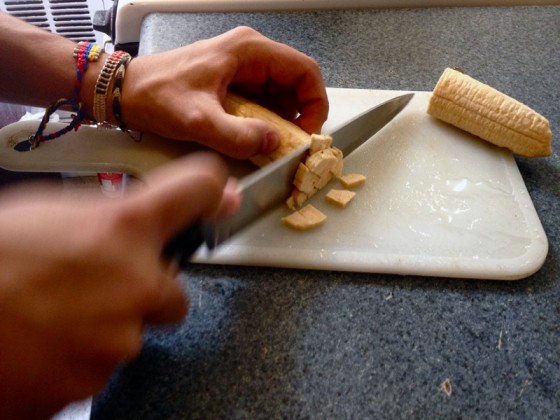
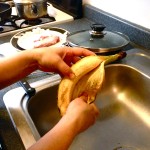
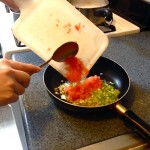
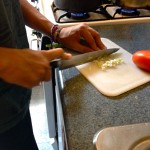
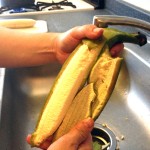
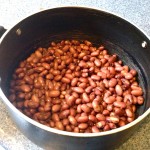
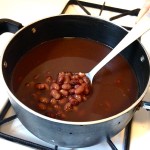
Wash the beans and remove any faulty ones. Place them in a large pot. Add enough water so that the beans are covered. Place pot on high flame until the beans are soft (about 1 hour 30 min). Grab a green plantain, peel and cut into small pieces and add to the pot of beans. Consistently stir for about 25 minutes. Add salt to taste and leave to cook until the plantains are soft. On a separate plate, wash two stalks of scallions and a tomato. Cut the scallions and tomato into little pieces. Add oil onto a frying pan and let the scallion and tomato cook for about 5 minutes under low flame. Then add into the bean pot.

Rice
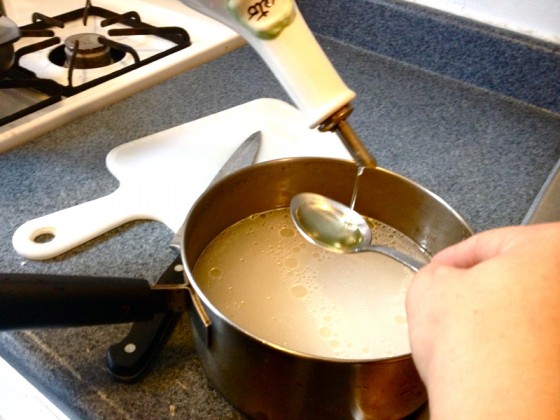
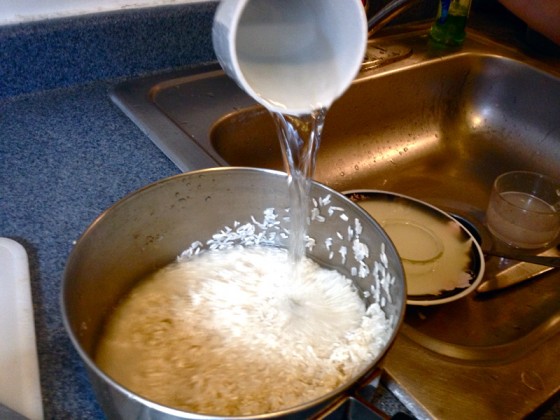
Get one cup of rice, wash it, and add it into a pot along with 2 cups of water. Add salt to taste and 3 spoons of oil. Cook the rice on medium fire. When the rice begins to absorb the water, place a cover on the pot and lower the flame. The rice is ready when it is fluffy.

Steak
Wash meat, add salt (other meat spices/sauces are up to you). Add oil to pan, and heat up the pan. Place meat on pan after the pan has heated up on medium fire (5 minutes on each side).

Chicharrón
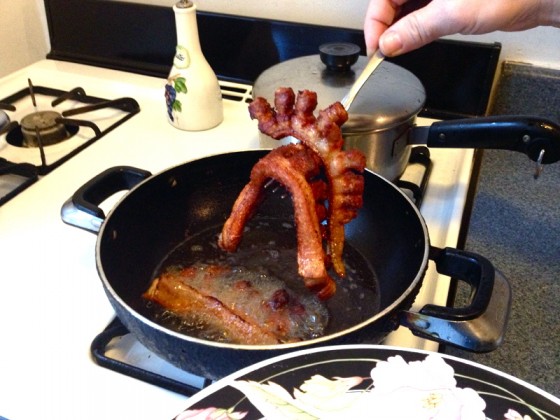
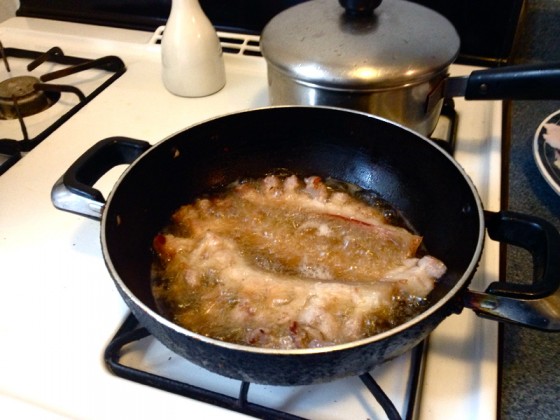
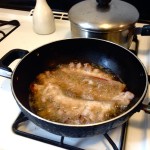
Wash the chicharrón, cut crevices into the meat so it is fully fried. Add salt to taste. Add enough oil into a frying pan to deep fry the chicharrón. Keep the chicharrón on medium fire until it is crunchy (make sure to place a top on the pan!)

Maduro (yellow plantain)
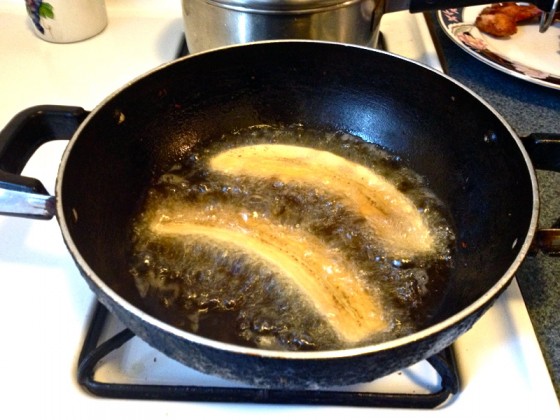
Wash the maduro, peel off the skin, and cut the plantain in half (the long way). Deep fry the plantain until it obtains a brown color (5 minutes).

Egg, Arepa & Avocado
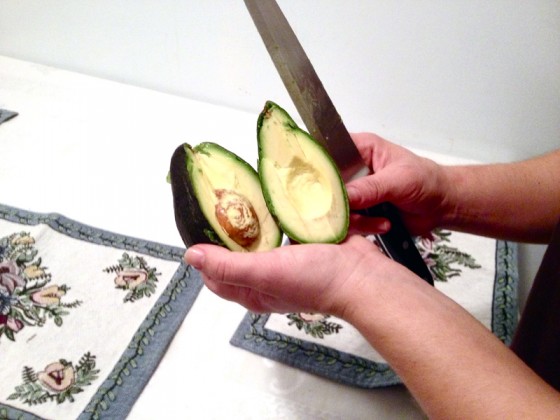
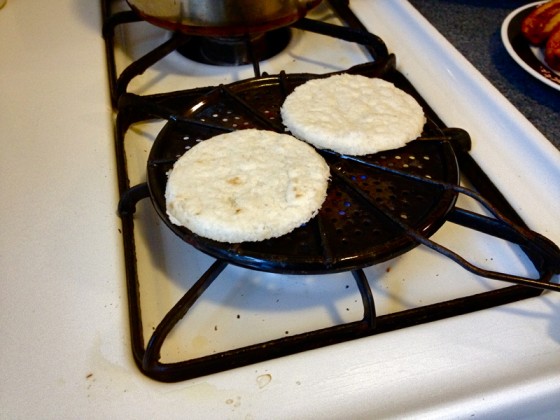
Use one egg and add oil on a pan and fry it. The arepa is placed on a grill pan, on medium flame for about 10 minutes. The avocado is sliced into four pieces and can be shared with 4 dishes.

All of these elements are then placed on a large plate or platter. Enjoy!

The Kid Stays in the Kitchen: Juvella’s Sinigang

IMG_9821
IMG_9727
IMG_9730
IMG_9740
IMG_9746
IMG_9751
IMG_9754
IMG_9766
IMG_9773
IMG_9779
IMG_9784
IMG_9788
IMG_9795
IMG_9802
IMG_9812
IMG_9813
IMG_9814
IMG_9838

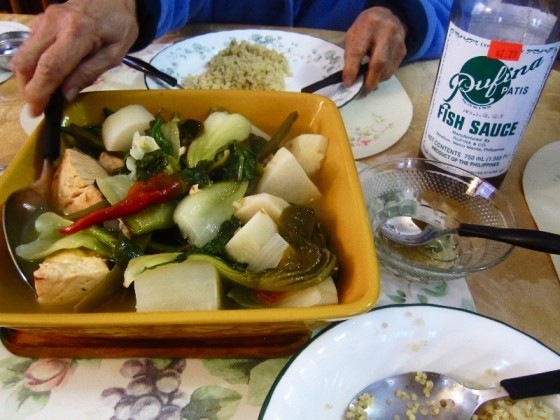
Welcome back to “The Kid Stays in the Kitchen!” Each week a student is assigned to cook a traditional dish with a friend or family member and document the experience in photos and words. Juvella is our star this week and she prepared a traditional Filipino soup called, sinigang.


Filipino cuisine is an absolute joy and a large part of my identity. I grew up tasting two sides of the cuisine. My mother prefers to cook vegetable or “farmer’s” dishes while my father opts for fatty, creamy, and savory meat dishes. With so many options to choose from for this project, my mother finally chose for me: sinigang, a tamarind based soup that can be varied according to preference. Fish, shrimp, pork, or beef are the choices for the main protein, which is accompanied by loads of vegetables such as okra and gabi (taro corm), my favorite veggie choices.

As a child and even now, I prefer having fish in my sinigang. In the Philippines, milkfish is the usual fish associated with sinigang but because it has a lot of tiny bones my mother feared that my brother and I would swallow and choke on them. To play it safe, my mother substituted salmon, either a fillet, the head, or both. When she did use the fish head, my father would always try to get my brother and me to eat the eyes! I ran in horror and begged my mother to only use salmon fillet. But I grew out of that phase and my insatiable love for food is too great to fear the “weirdness” of any dish.

Since the soup has a tamarind base, it is sweet and sour in taste. But no matter how my mom prepares it, I usually go for a sour-salty kick at the end and I load on the patis (fish sauce) and kalamansi (lime). — Juvella

Salmon Sinigang
Recipe by Juvella’s mom, Veronica
Ingredients
• 1 yellow onion
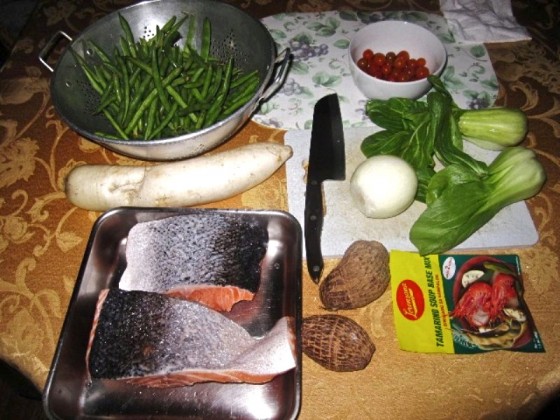
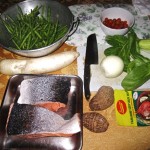
• 2 pieces salmon filet
• Tamarind soup mix
• 2 medium taro corms (gabi)
• 1 cup cherry tomatoes (or equivalent)
• Leafy vegetables (bokchoy, spinach)
• 6 cups water
• 1 lb green beans
• Salt or patis (fish sauce)
• Any other vegetables (eggplant, okra, daikon radish)
• 3 pieces long (hot) peppers

Directions
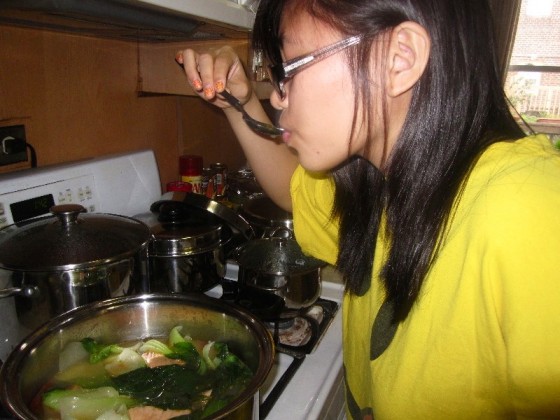
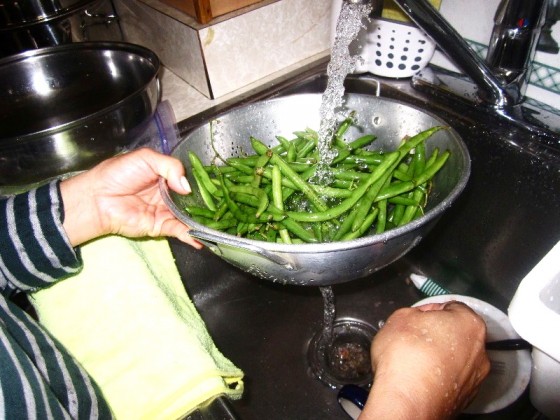
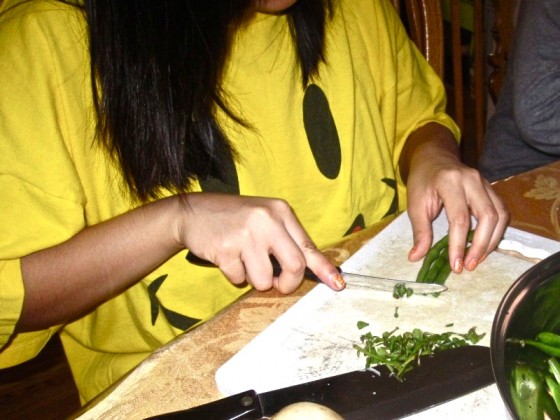
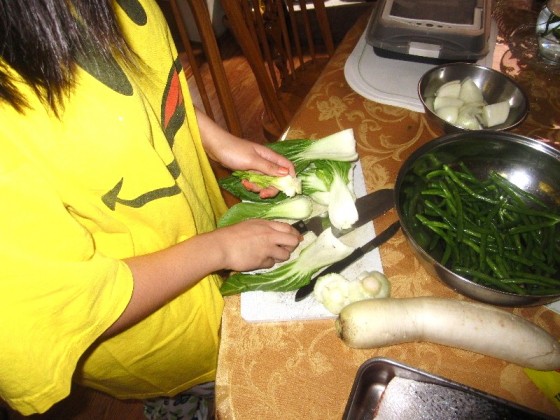
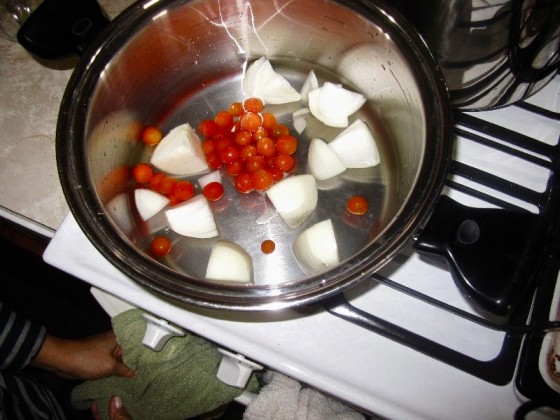
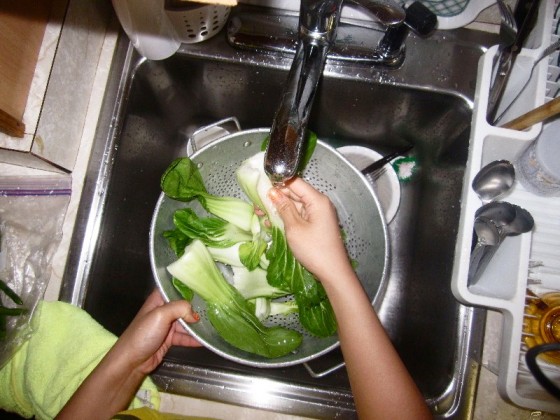
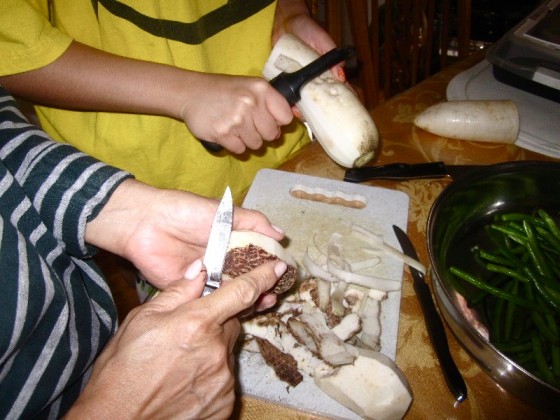
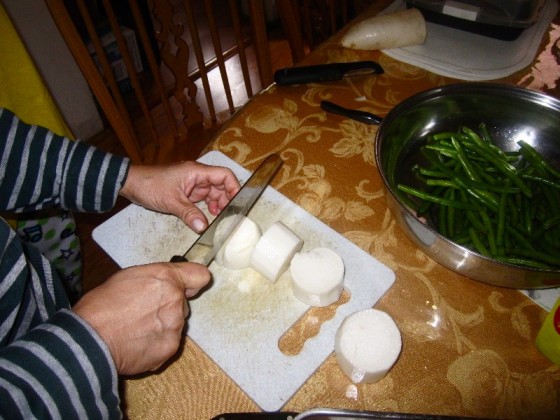
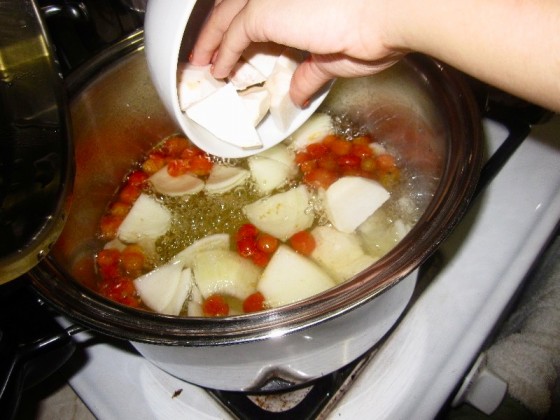
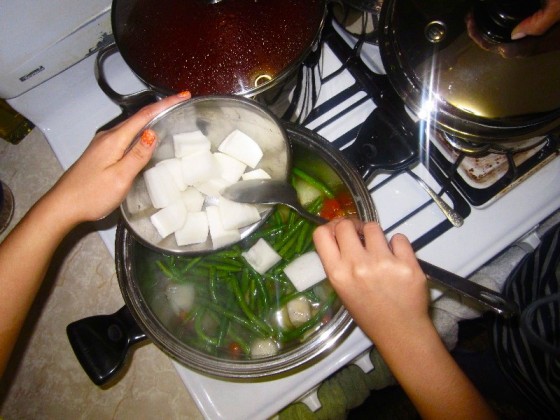
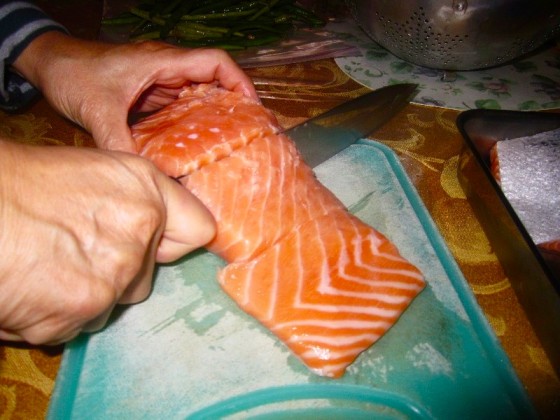
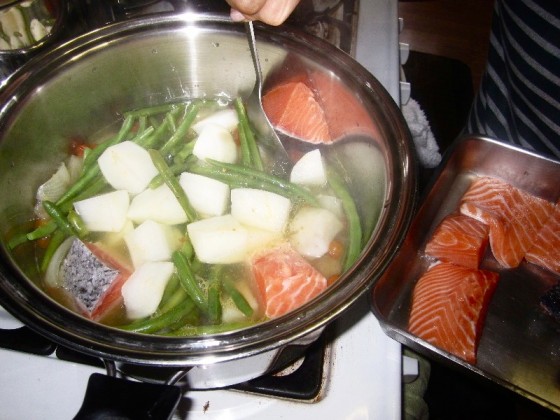
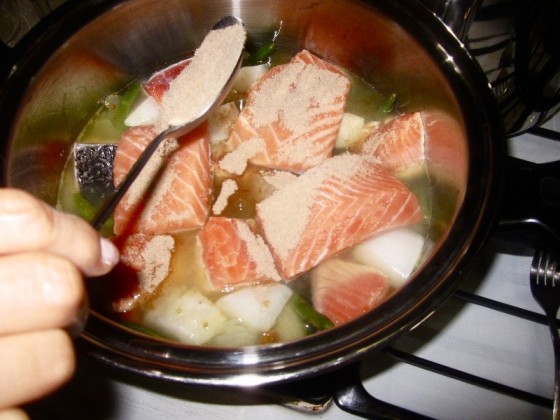
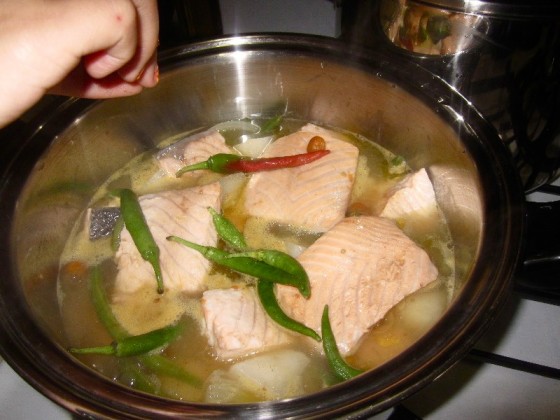
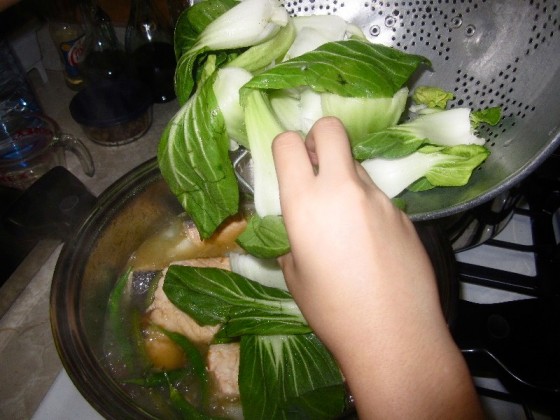
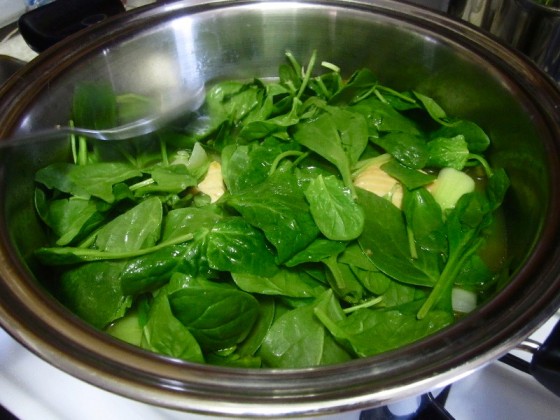
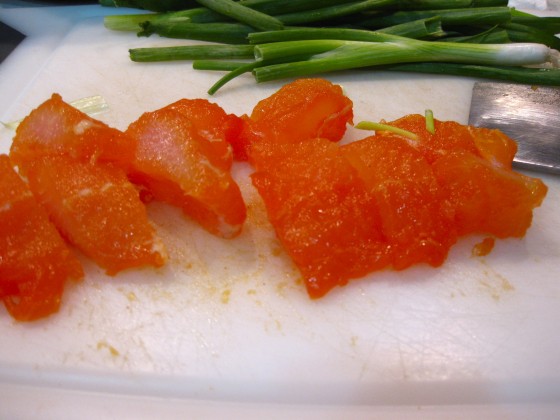
Peel the gabi and daikon radish. Wash all vegetables before cutting into serving size pieces. Cut the onion in half then into quarters; repeat for the gabi and half of the daikon radish. Cut off the tips of the green beans. Wash the salmon and cut into serving size pieces.  Boil the water in a large pot, then add the onion and either diced or cherry tomatoes. When the tomatoes are soft, add the green beans and gabi. Boil the vegetables until the beans and gabi are half cooked, which can be determined using a fork. For the beans, the fork should be able to go through but still be crisp and the gabi should be partially soft. Then, add the salmon. Season the soup with the tamarind soup mix and salt or patis to taste. Add the leafy greens and long (hot) peppers. Do not stir or else the vegetables and fish will be mushy. Cook until the salmon flakes easily. Serve hot with rice or quinoa.

The Kid Stays in the Kitchen: Tandy’s Red Bean Rice Cake

IMG_0130
IMG_0070
IMG_0071
IMG_0104
IMG_0107
IMG_0110
IMG_0118
IMG_0125
IMG_0133
IMG_0137
IMG_0139
IMG_0140
IMG_0141
IMG_0143
IMG_0147

Thanks for checking out this week’s edition of “The Kid Stays in the Kitchen.” Each week a student is assigned to cook a traditional dish with a friend or family member and document the experience in photos and words. This week features Tandy, who prepared a red bean rice cake, a comforting treat which reminds her of her grandma.


Hong Dou Nian Gao (Red Bean Rice Cake) by Tandy

It wasn’t a matter of what to cook, but how to cook it. The minute we were given this assignment in class, I instantly knew what I wanted to make: 红豆年糕 (Hóngdòu niángāo) which roughly translates into red bean rice cake. (Red bean sticky cake would be the more direct translation but it sounds less appetizing). To me, this recipe is like a memory capsule. Does that sound weird? Let me explain. When I was young, my parents were always busy working, so it was mostly my grandmother who stayed with me day and night. She would teach me things about food, how to prepare it or how to pick the best ingredients. One of my grandmother’s favorite dishes was Red Bean Rice Cake. She’d make it for us whenever we got a chance to have a family dinner. It would be the one day of the week when I got to see both my mother and father at the same time. So to me this cake is a sign of coming together. Whenever I smelled the red beans boiling, I knew that my parents would be home for dinner.

After my grandmother went back to China, I was devastated and I wouldn’t eat anything. The only thing that my parents could get me to eat was the red bean cake. It reminded me of her and the times I had been with her. The only problem was that my parents could never get the recipe correct. It would always be too sweet, too soggy or too bland. Sometimes they cooked the red beans for too long. Other times they didn’t leave the cake in the oven long enough. Regardless, I was really frustrated by the fact that the recipe might’ve been gone forever along with the memory I had of her.

I realize now that the magic of the cake is that it will never be the same every time. There was no solid recipe for how much sugar to put or how long to bake it. It all depended on the mood of the day. On days when the weather was cold, my grandmother would bake the cake slightly longer to keep it warm. When I was growing out of my baby teeth, my grandmother made the cake softer by adding more milk to it. There were so many variations that I lost track of the original but I guess that’s why I like this dish so much.

When I finally learned the recipe, I realized that the fun part of making the cake is experimenting with it. It doesn’t matter if there’s an extra quarter cup of milk or if I leave it in the oven for a few minutes longer. What matters is what treasure I get out of it. And for me, it’s the embodiment of my grandmother’s presence that really makes this the best dish ever.

Recipe:
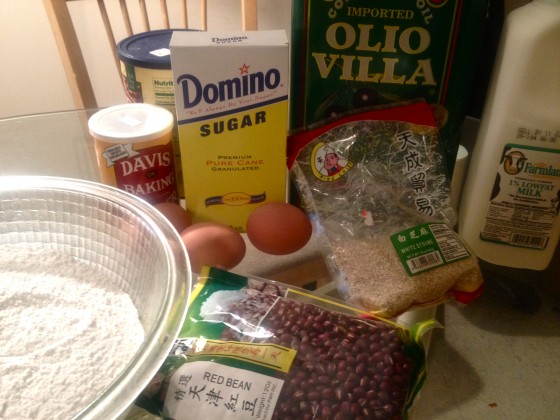
• 4½ cups glutinous rice flour (sticky rice flour)
• ¾ cups vegetable oil
• 3 large eggs
• 2½ cups milk*
• ¾ cup granulated white sugar*
• ¾ cup brown sugar*
• 1 tablespoon of baking soda
• 1½ – 1¾ cup of mashed red azuki bean
• (optional) 1 cup of sesame
* can be moderated based on preference

Directions:
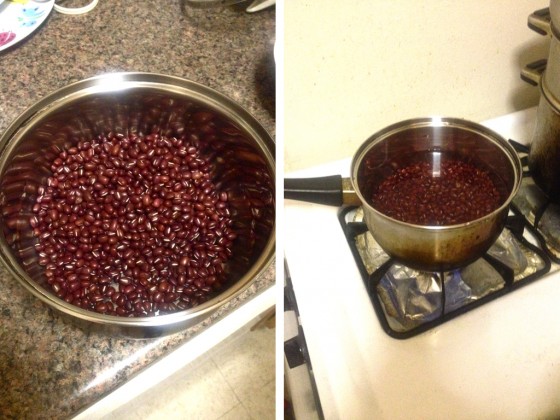
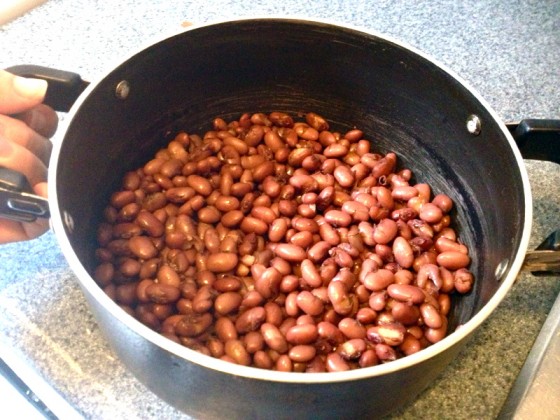
1. Thoroughly wash the beans and throw out any that are damaged.
2. Put the beans in a medium size pot and add double the amount of water to boil it. Depending on the amount of red beans you use the cooking time is different.
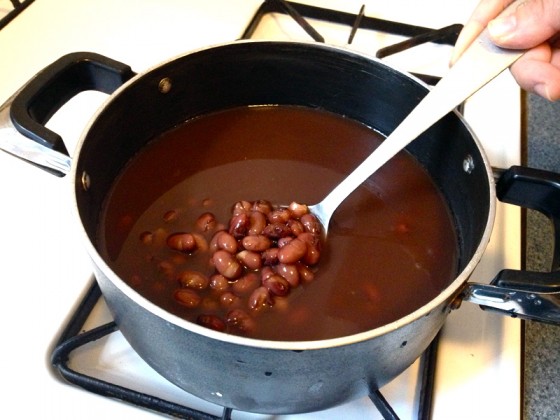
3. Keep boiling until the red beans become soft and edible. (You can taste it occasionally to see how soft you want it to be.)
4. Store them in the fridge in a bowl with plastic wrapping on top for about 5-10 minutes. Then go to work on the batter.
5. Preheat oven to 350°Fahrenheit (about 175°Celsius). Use a paper towel to rub a small amount of oil over a 9×9 inch pan.
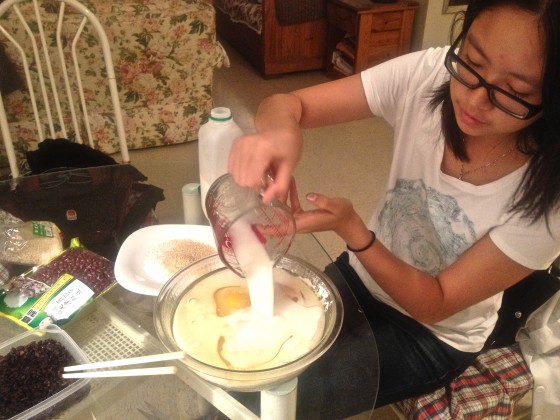
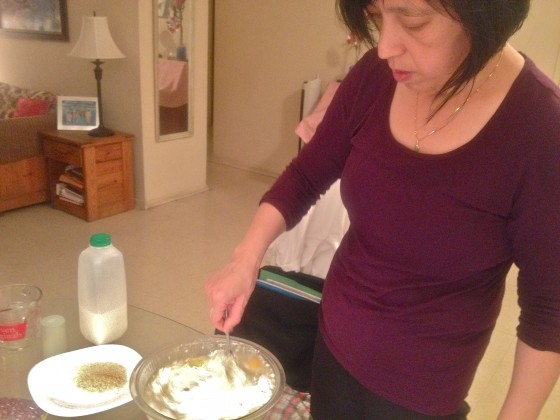
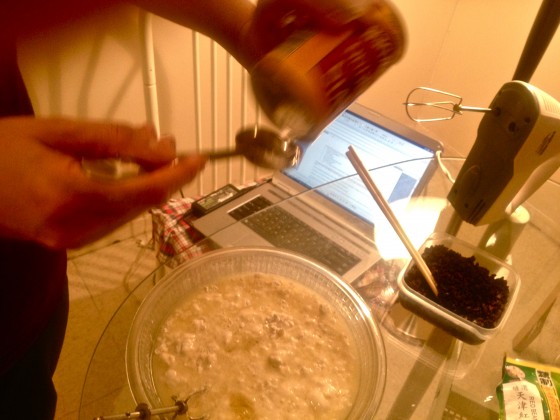
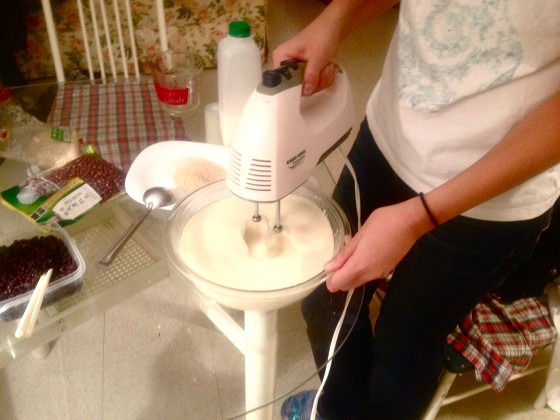
6. Mix everything but the red beans in a bowl (preferably with the flour first and the baking soda last).
7. Stir for about 5 minutes (or stir with an electric mixer at medium speed for 2 minutes).
8. Keep stirring for about 2 more minutes or until the mix is completely liquidated.
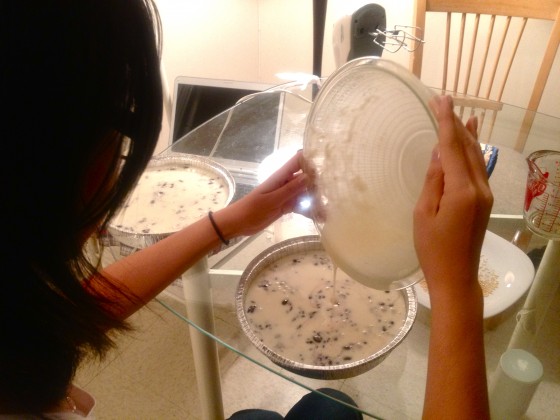
9. Spread ½ to ¾ of the batter on the bottom of the baking pan (DON’T POUR ALL THE BATTER IN YET)
10. Bake this for about 10 minutes or until the batter is just beginning to set.
11. Take out the red beans from the fridge.
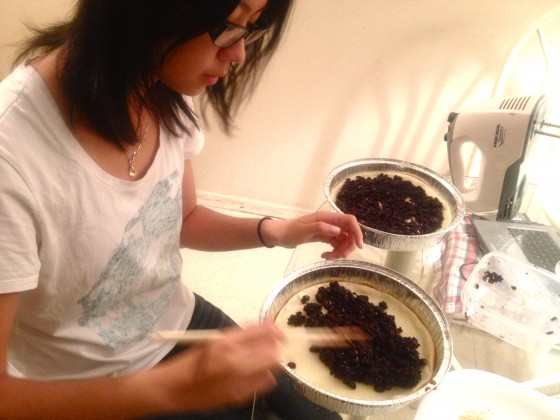
12. Remove the pan from the oven and add the red beans. Layer them evenly on top.
13. Pour the rest of the batter on top of the red beans. Don’t worry if some of the red beans are still visible.
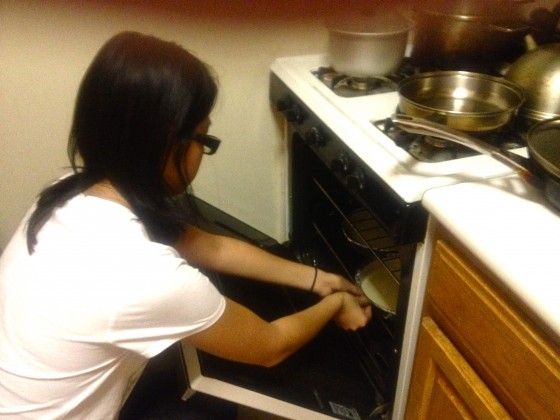
14. Then bake again in the oven at 350 degrees for about 30-40 minutes depending on how you want the texture.
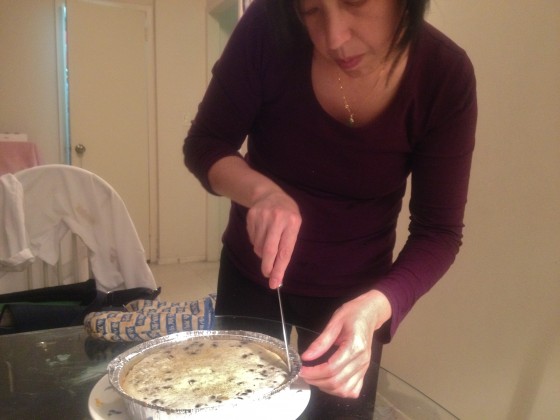
15. The cake is done when you stick a chopstick or toothpick in the middle and it comes out clean.
16. Let the cake sit for about 10 minutes before digging in.
17. Enjoy!
Optional: To give this cake even more of a taste, I decided to add sesame. If you want to incorporate sesame in your cake, make sure to do so after step 13. Once the rest of the batter is on top sprinkle the sesame evenly around the top.

The Kid Stays in the Kitchen: Jessalyn’s Noodle Soup

15Jessalyn
3soysauce
4washing bokchoy
4abok choy
JEssalynScallions
1scallions
5fish
7marinated pork
9noodles2
8noodles
11adding fish
12adding pork
13adding water
10adding bokchoy
16JessalynFinal

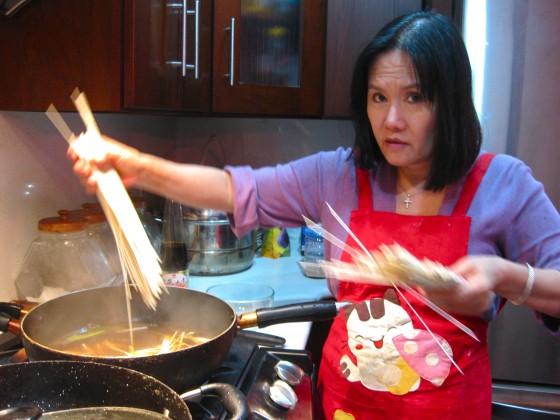
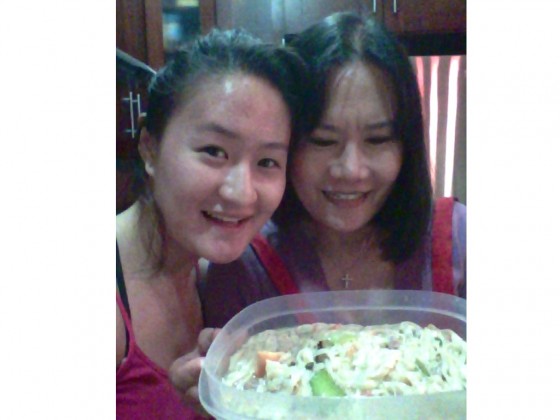
I’m excited to present our newest edition of “The Kid Stays in the Kitchen.” Each week a student is assigned to cook a traditional dish with a friend or family member and document the experience in photos and words. This week features Jessalyn, who prepared a Taiwanese pork and fish soup with her mom.


Soup noodles or no noodles! It’s a peculiar saying, but it’s one that I’ve heard over and over since childhood. If you’re lucky enough to experience the Taiwanese culture and its sometimes weird but delicious food, you’ll find that the Taiwanese have an obsession with soup.  And no matter where you go, you’ll never find a good soup without perfectly pulled noodles far behind.

This Taiwanese noodle soup, much like the American chicken noodle soup, is an extremely easy dish to make. But for those like me, who find themselves dropped oceans away from their beloved homeland, it is also the greatest comfort food. Just the smell of searing scallions mixed with soy sauce brings me back to Taiwan during the hot and wet typhoon season.  I’d sit at the dinner table with a steaming bowl of soup, wind and rain racking against the roof.

We all know soup is comforting when we’re sick; it’s also liquid life on a cold day. So I encourage everyone to try out this short and sweet recipe! Make your own beautiful Taiwanese noodle soup! — Jessalyn

Taiwanese Noodle Soup: Recipe by Jessalyn’s mom, Wen-yu Chang

Soup Ingredients

  • ½ lb Bok Choy
  • 3 Tbsp Soy Sauce
  • 5-10 stalks of Scallions
  • 8 cups of water
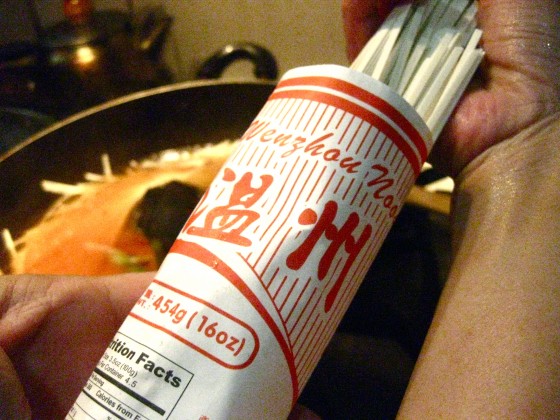
  • 1 pack Chinese flat noodles (rice or flour)
  • Vegetable Oil
  • Sesame Oil
  • Salt
  • MSG (optional)
  • White pepper

Pork Ingredients

  • 3 Tbsp Corn starch
  • 3 Tbsp Soy Sauce
  • 1-Teaspoon Salt
  • 1 egg

Recipe

Pre-preparation of Pork (or any type of desired meat or fish)
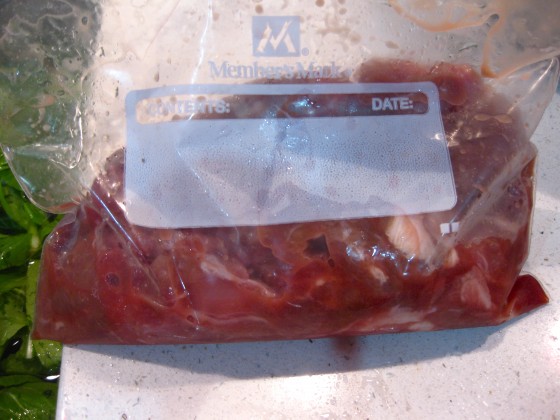
Use a plastic bag and put about ¼ to ½ lb of meat into it. Add the 3 tbsp of cornstarch and soy sauce and 1 teaspoon of salt to the bag. Crack one egg and whisk till frothy, then add to bag as well. Allow pork to marinate from anywhere to two hours to overnight.

Soup
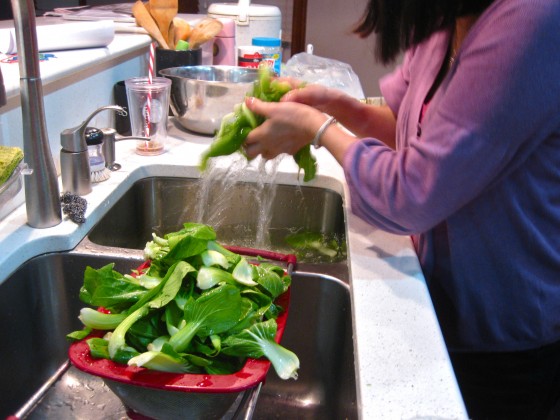
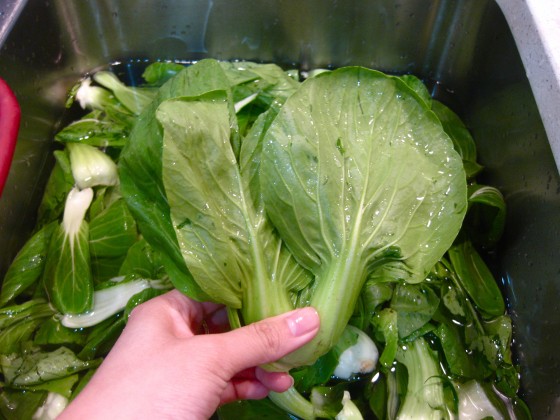
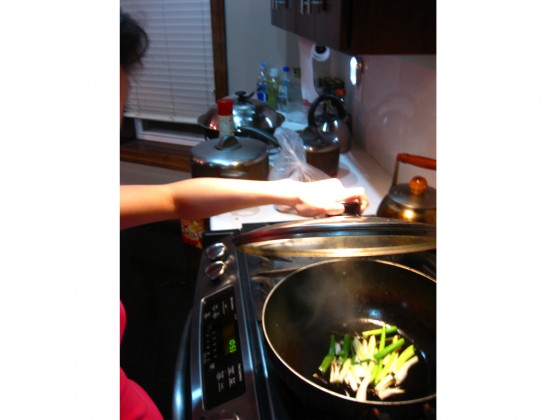
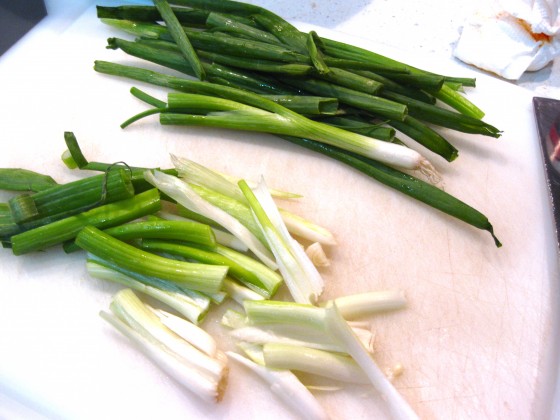
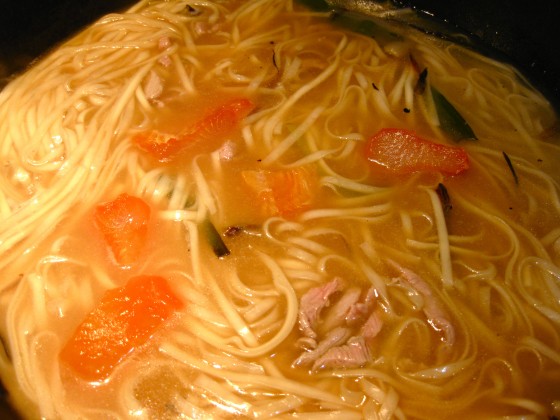
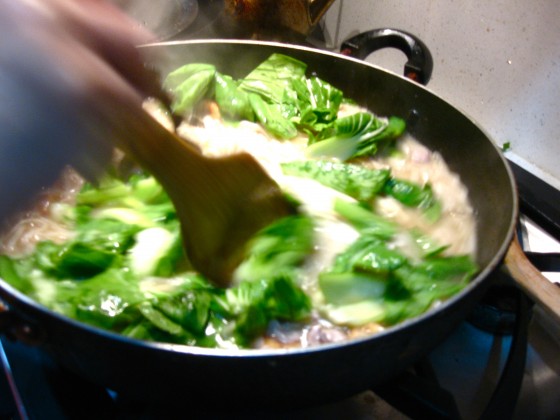
Wash bok choy and scallions with cold water and rinse off twice. Cut each of the scallion stalks into thirds. Heat the pot until steaming hot and add vegetable oil until it creates a layer on the bottom of the pot. Sear scallions till they have a slightly browned, then add 3 tablespoons of soy sauce and 8 cups of water. Let the water come to boil then add noodles and allow to boil for 7-8 minutes. After the noodles are semi-boiled (after the 7-8 minutes) add the strips of pork throughout the soup and noodles. When the water has come to another boil, add the bok choy and cover the lid of the pot. Allow the soup to boil for 6-10 minutes, or until the boy choy has softened. Use salt, MSG, and white pepper as seasoning. Adjust amounts as desired. Lastly, sprinkle some sesame oil into the soup.
Enjoy!
Don’t Yuck This Yum!

pidan1
Pidan2
IMG_2544
IMG_2550
pidan5
Pidan3
Pidan4
IMG_2562
IMG_2564
IMG_2573
pidan7
IMG_2584
pidan8
pidan11
pidan9

Michael Pollan shared his favorite “Dietary Dos and Don’ts” in the October 2009 New York Times Food issue. One in particular — shared by Rachael Narins — stood out: “Don’t yuck someone’s yum,” and I’ve adopted it as the motto for my Gastronomy class and the EatNYC club.

It has come in handy when there is a funky-footy cheese or super stinky tofu on our tasting plates. The kids’ eyes widen and their noses wrinkle, but I remind them that someone somewhere prizes the food in front of them. “What’s the worst that can happen?” I rationalize. “You won’t like it.  Eat a piece of bread, drink a little water and the taste will be gone.  But if you do like it, it will be a source of pleasure for the rest of your lives. That’s a risk I’m willing to take.” (This is where students invariably counter with the blowfish argument: “The worst thing that can happen, Ms. Boylan, is that we die. Explain that to our mothers.” Point taken. And hence we will never taste blowfish; there’s just too much paperwork involved.)

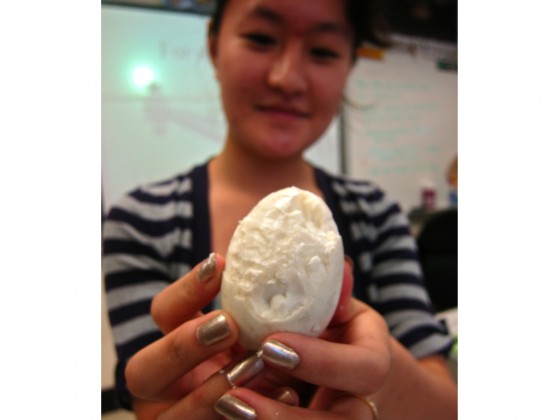
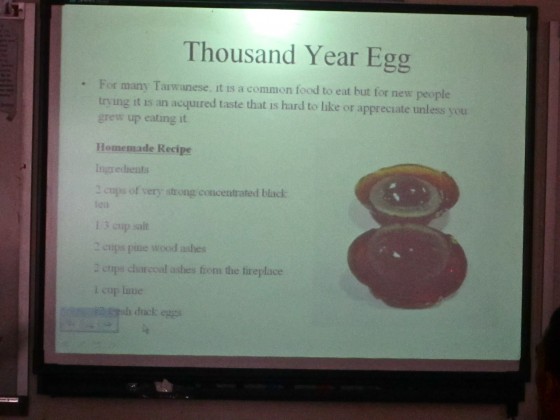
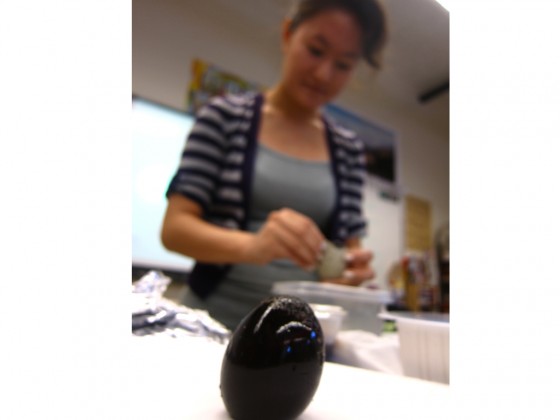
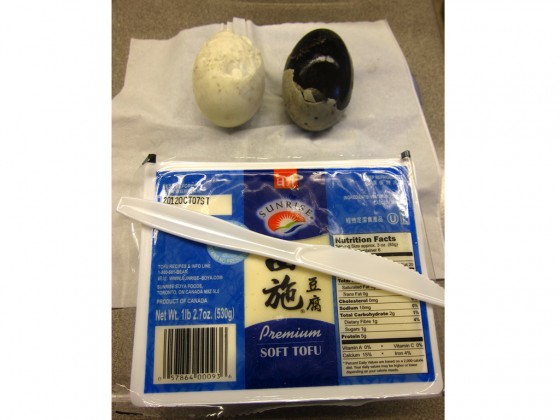
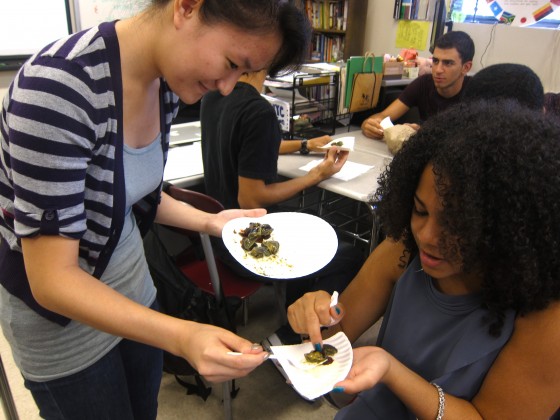
Last week I had to plug the reliable saying again when Jessalyn, a Taiwanese student, brought in the salted duck eggs and thousand year eggs (pidan) she made with her family for the class to taste. She first explained the history and fermentation process and playfully called the eggs, “Thing One and Thing Two.” The class warmed up.

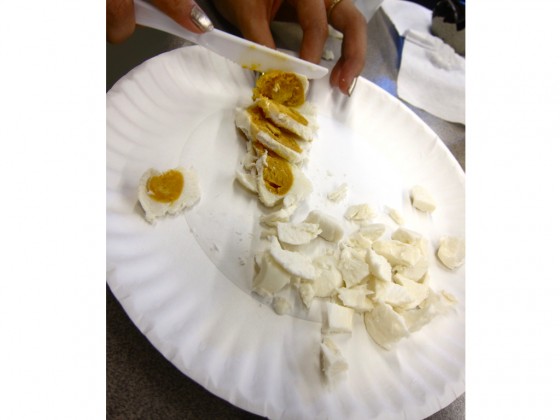
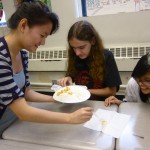
And then came the tasting.  Jessalyn cut the salted eggs into tiny slivers and because of the predictable white and yellow colors, the students gobbled them up.  “I’m in love,” Kleant declared.

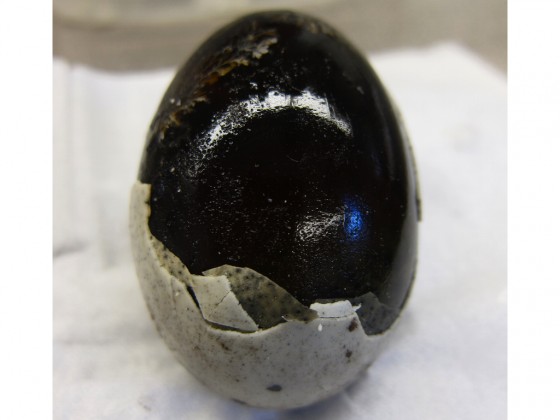
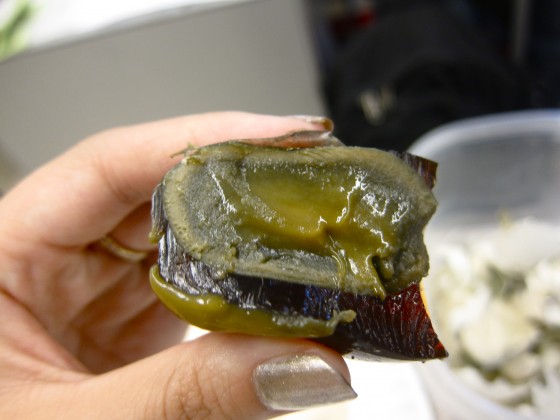
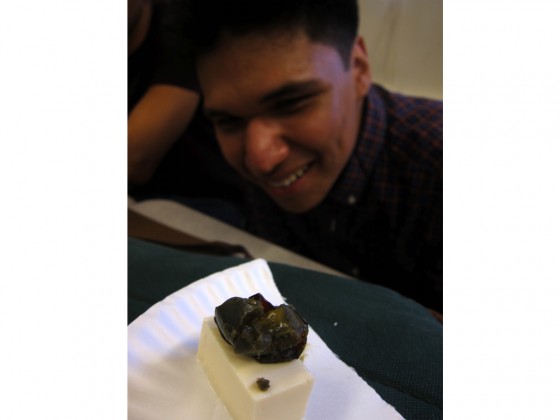
Jessalyn proceeded to carefully peel the thousand year egg, and the class collectively shuddered at the shiny black albumen peeking through. She sliced it in half. Now, for those of you unfamiliar with pidan, the fermentation process — aided by a pasty mixture of black tea, salt, wood ash and quicklime — turns the “white” of the egg a glossy black and the yolk a creamy sulphur-ish green.

“Yuuuuuuck,” went the chorus.  Unfazed, Jessalyn explained that pidan is typically served in congee (rice porridge) or with soft tofu, greens and oyster sauce.  “Yuuuuuck,” they reiterated.  “And this is what you are going to taste today,” she beamed.

I intervened to remind them that it was too late to declare an allergy to pidan, and they would all be obliged to try it.  “And remember, guys,” I started.  “Don’t yuck someone’s yum,” they finished with a collective eye roll.

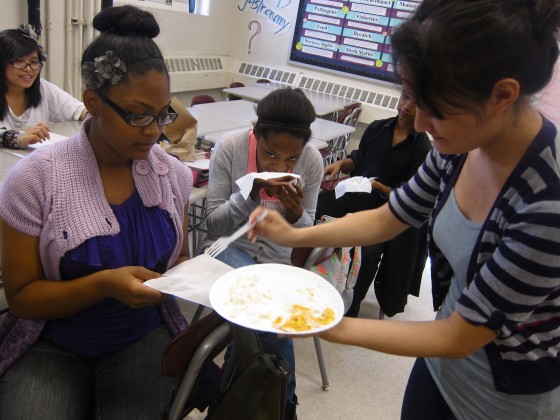
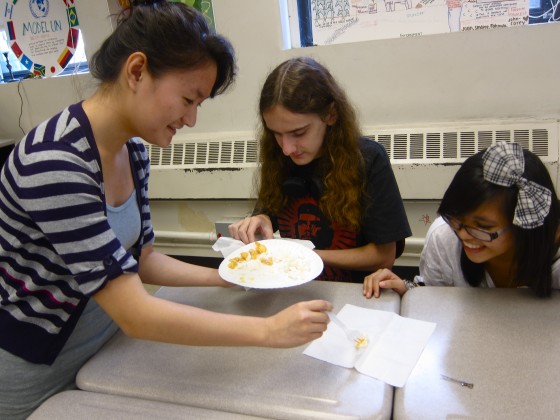
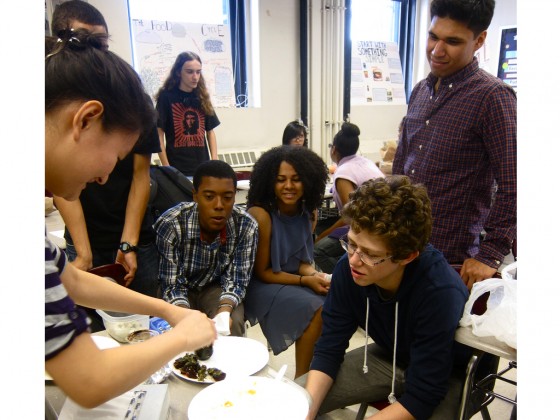
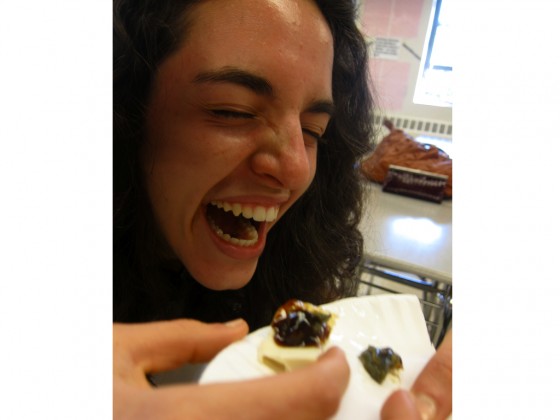
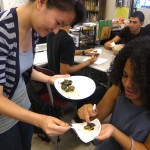
Each student grabbed a plate and sidled up to the pidan. Jessalyn gingerly placed a slice of the egg on each cube of silken tofu.  A squirt of oyster sauce later sent each kid back to his seat to contemplate the next move. They eyeballed it from different angles like kittens calculating an attack on a ball of yarn.  Giggles and dares ensued.

And then they ate it.

The reactions ranged from surprise to confusion to displeasure. Some really liked it and went back for seconds. At least two had to force it down.  But all of them were proud to have sampled something so foreign to them.  One student concluded, “I never would have tried this because of its appearance. I didn’t love it, but it wasn’t that bad, either. Who knows what I’ll try next?”

My point exactly.