Welcome back to “The Kid Stays in the Kitchen.” Each student is assigned to cook a traditional dish with a friend or family member and document the experience in photos and words. This post is contributed by Mateo who comes from Colombia and he decided to make a dish from his region, Paisa.
Bandeja Paisa by Mateo
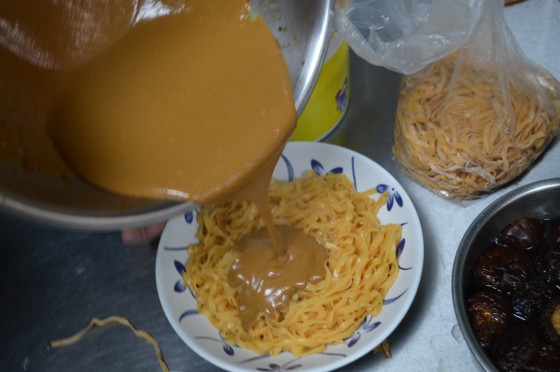
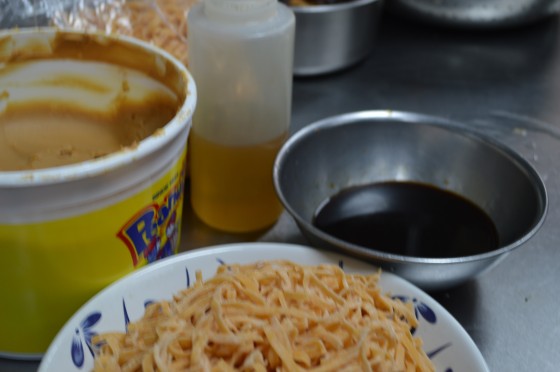
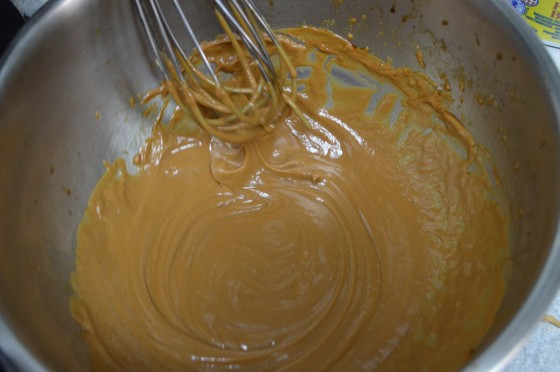
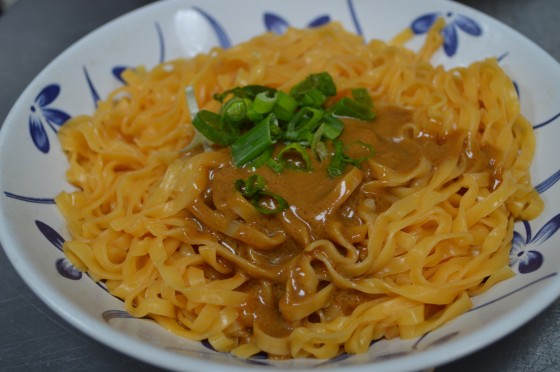
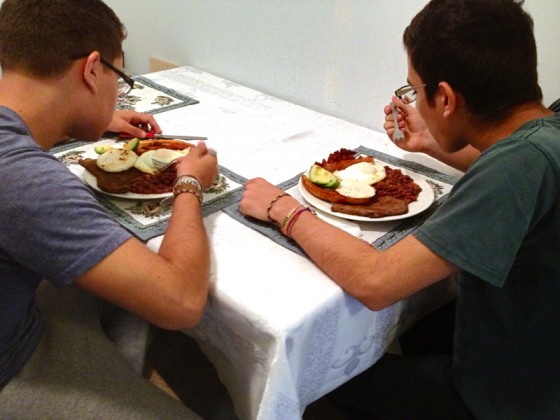
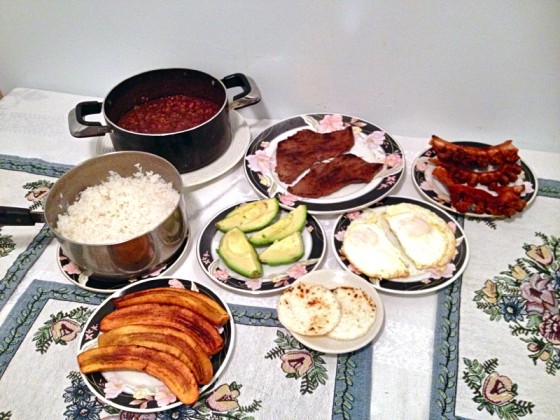
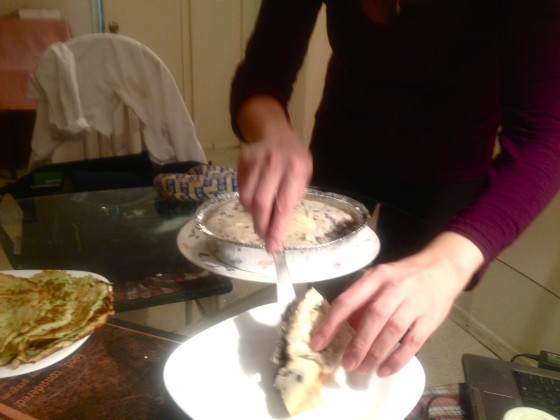
The bandeja paisa is a culmination of various ingredients, generously served on large plates or platters popular in the Paisa region of Colombia, my home country. Having been born in Colombia, I was blessed with the ability to experience its raw culture and with it, the delicious food. This particular dish contains many ingredients and although slight variations may exist, the one I learned to love consists of beans, rice, chicharrón, steak, plantain, fried egg, and an arepa.
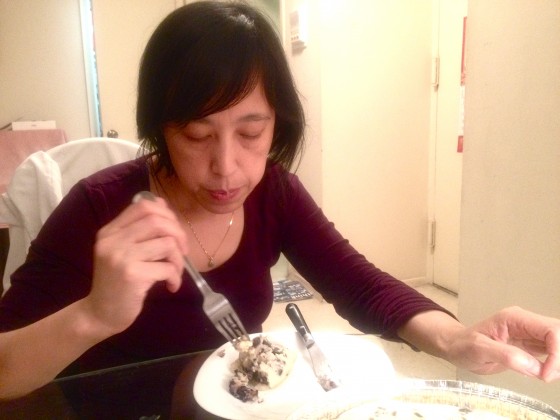
Bandeja paisa covers a great deal of the food pyramid and surely requires an empty stomach to fully devour it. As a child, I would always have to share the dish with my brother, unable to eat it all by myself. Consequently, the bandeja paisa represents stability in the household and gives rise to a feeling of gratitude for all of the things we have.
Luckily for me, bandeja paisa has become a common dinner at my home. But of course, due to its size and preparation time, my mother has made some adjustments to the ingredients (just rice, beans, chicharrón, and an egg). Nonetheless, this blend of different elements just works. From a young age, I can remember devouring the beans with rice and always preserving the last bit of crunchy chicharrón until the end.
More than anything, the bandeja paisa brings my family together, connecting us beyond our original borders, making it the ultimate comfort food.
Recipe for Bandeja Paisa by Mateo’s mom,
Serves 4
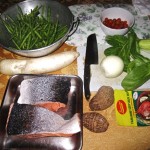
Ingredients
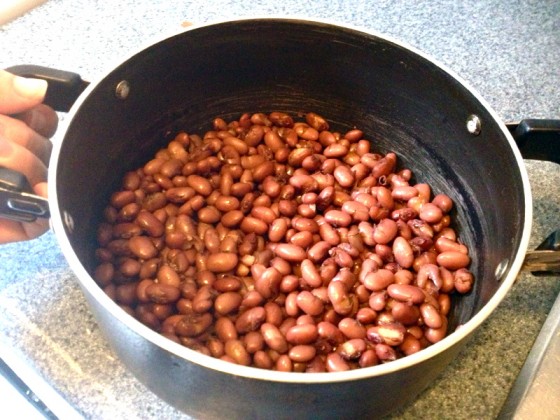
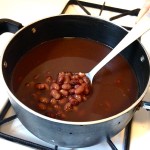
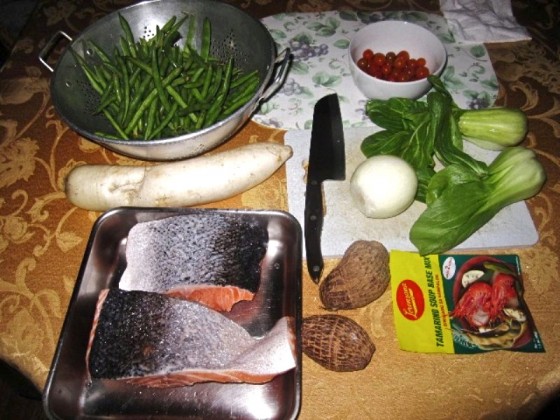
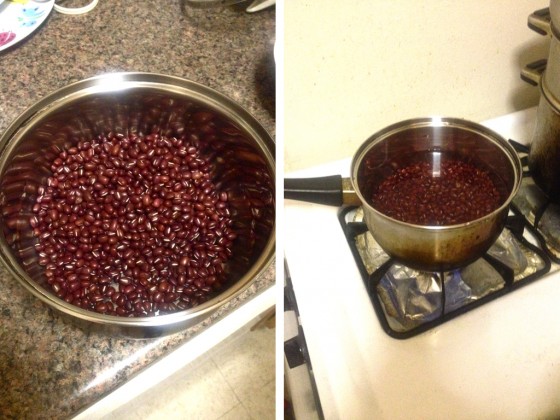
• 3 cups red beans
• 1 yellow plantain (maduro)
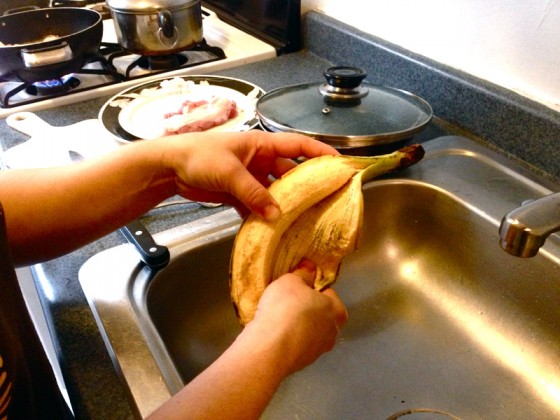
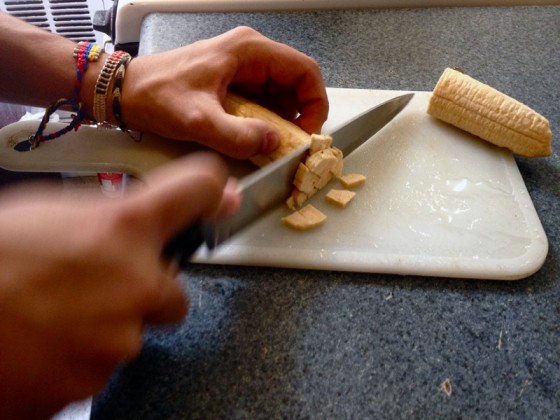
• 1 green plantain
• 1 tomato
• 2 scallions
• Salt
• Oil
• 1 cup of white rice
• Water
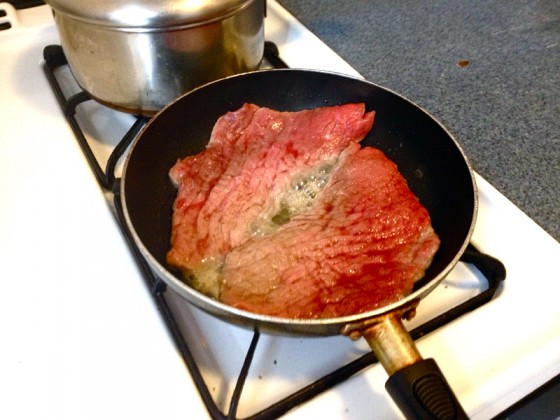
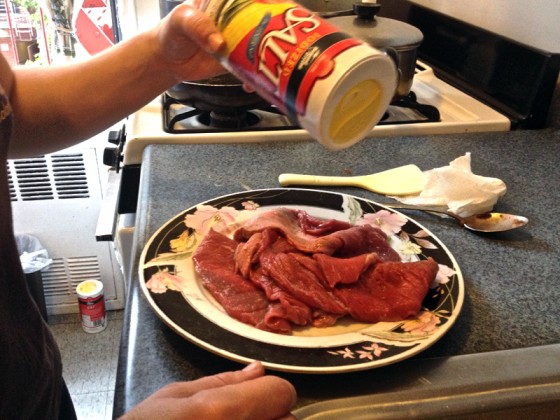
• Steak
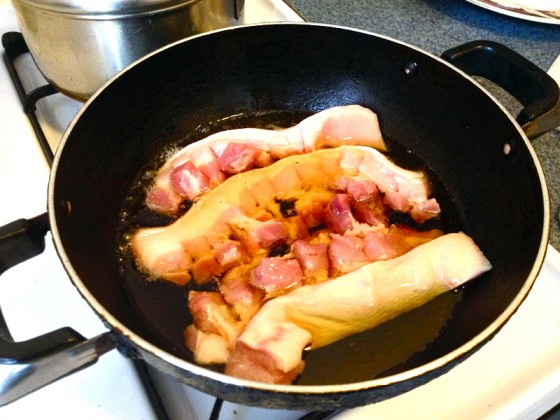
• Chicharrón
• Arepa
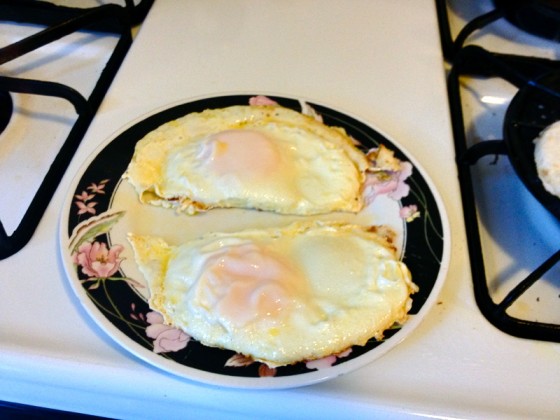
• 1 egg for each person
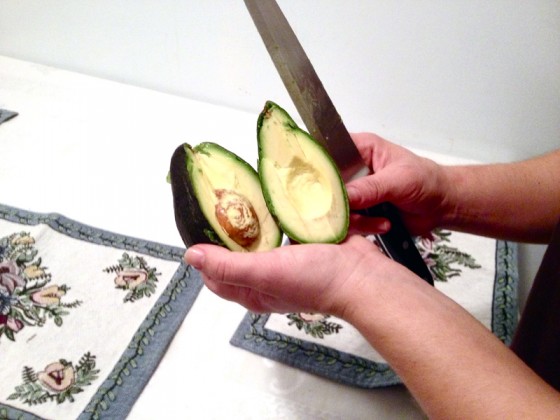
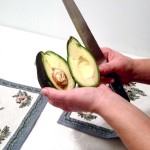
• 1 avocado
Directions
Beans
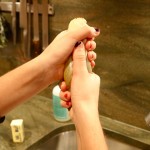
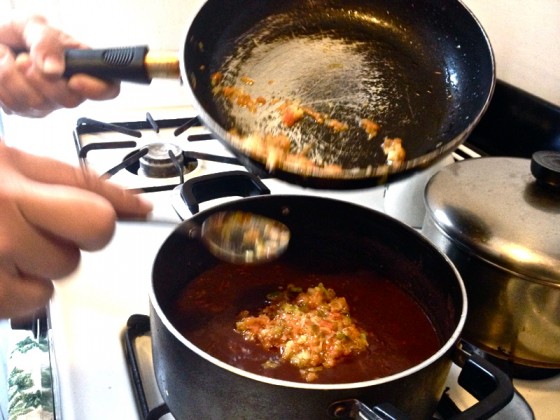
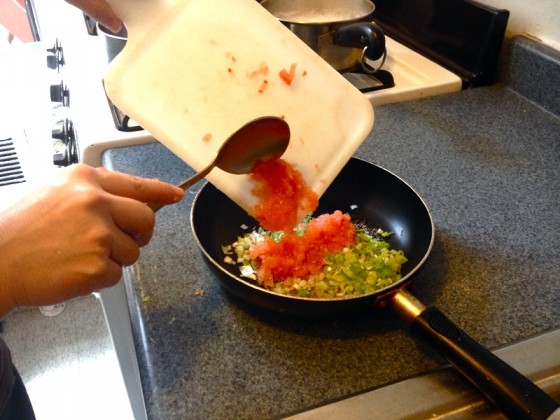
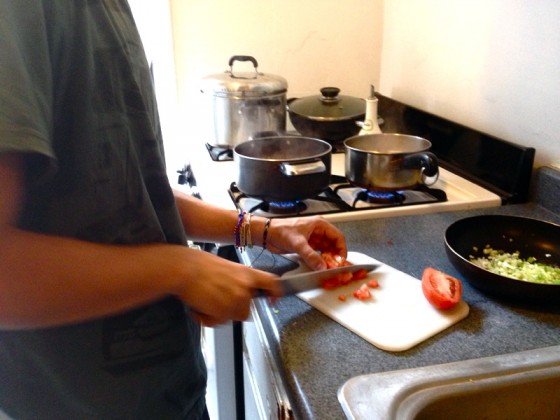
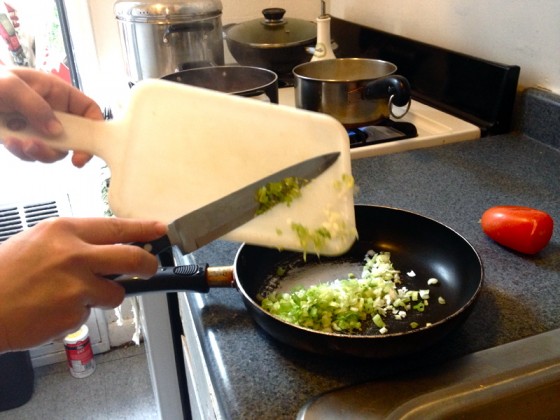
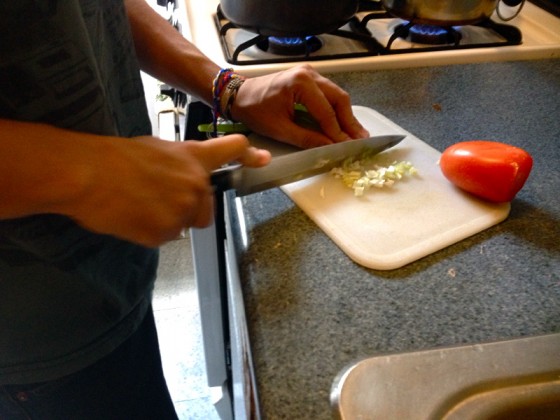
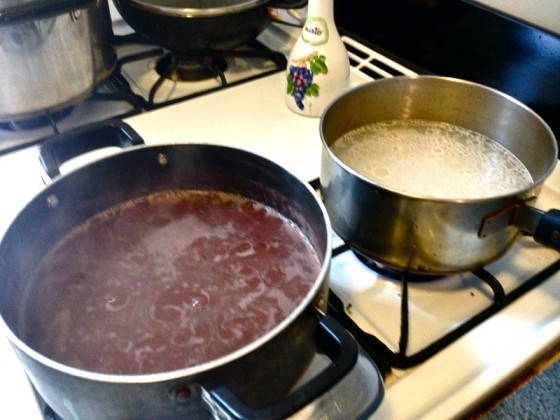
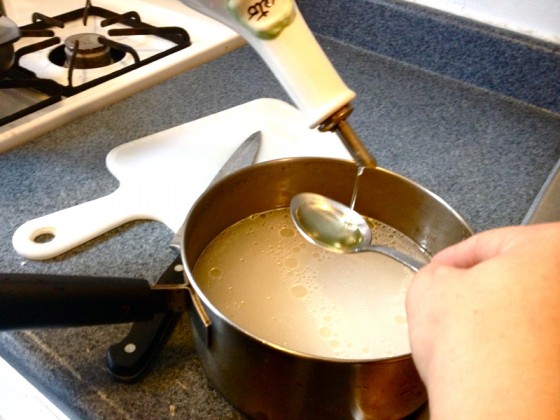
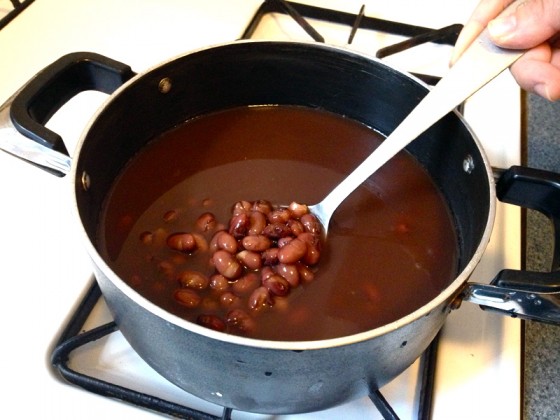
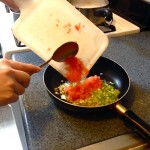
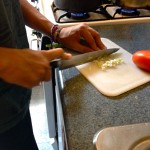
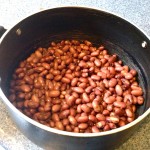
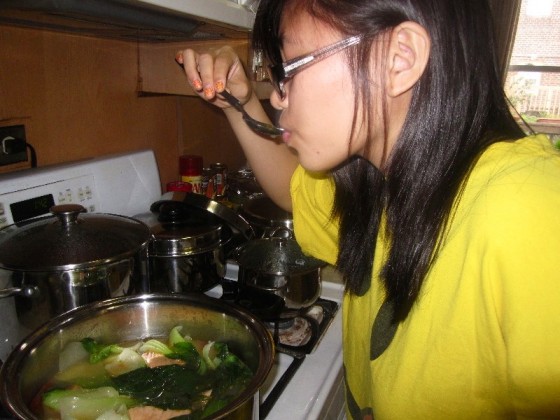
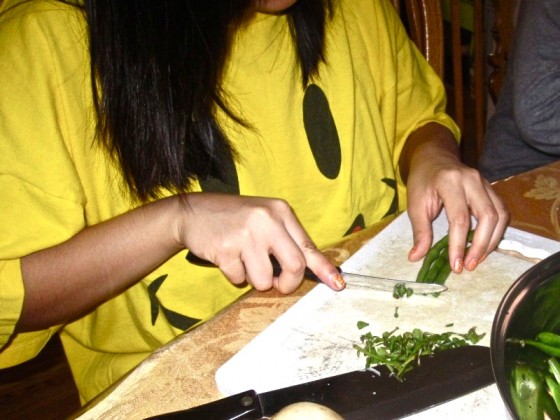
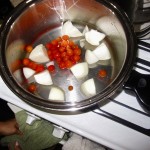
Wash the beans and remove any faulty ones. Place them in a large pot. Add enough water so that the beans are covered. Place pot on high flame until the beans are soft (about 1 hour 30 min). Grab a green plantain, peel and cut into small pieces and add to the pot of beans. Consistently stir for about 25 minutes. Add salt to taste and leave to cook until the plantains are soft. On a separate plate, wash two stalks of scallions and a tomato. Cut the scallions and tomato into little pieces. Add oil onto a frying pan and let the scallion and tomato cook for about 5 minutes under low flame. Then add into the bean pot.
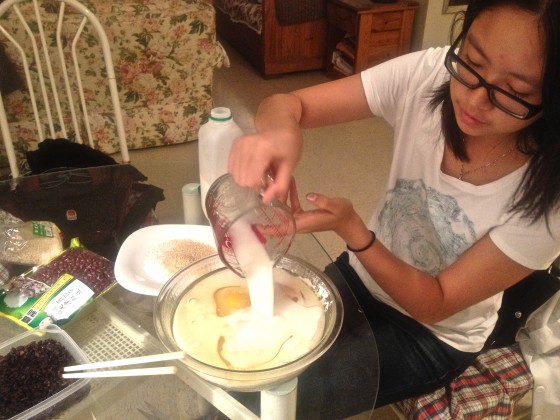
Rice
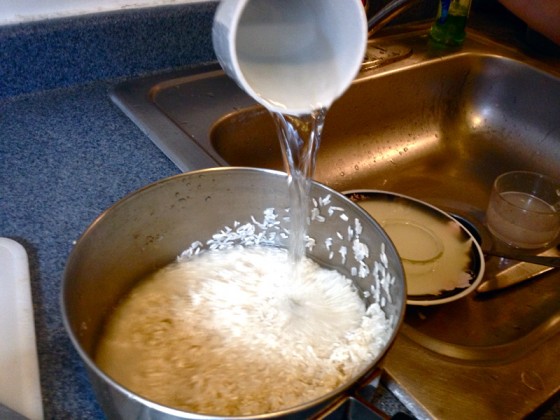
Get one cup of rice, wash it, and add it into a pot along with 2 cups of water. Add salt to taste and 3 spoons of oil. Cook the rice on medium fire. When the rice begins to absorb the water, place a cover on the pot and lower the flame. The rice is ready when it is fluffy.
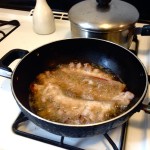
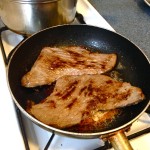
Steak
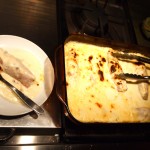
Wash meat, add salt (other meat spices/sauces are up to you). Add oil to pan, and heat up the pan. Place meat on pan after the pan has heated up on medium fire (5 minutes on each side).
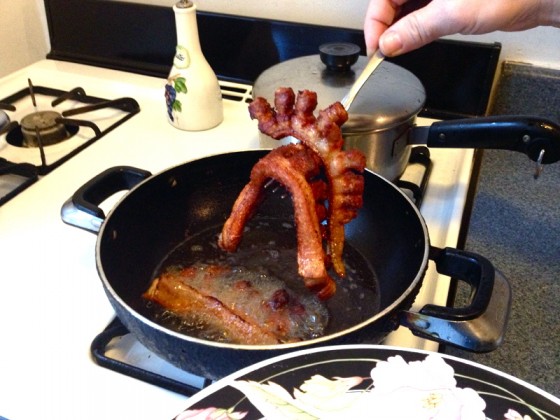
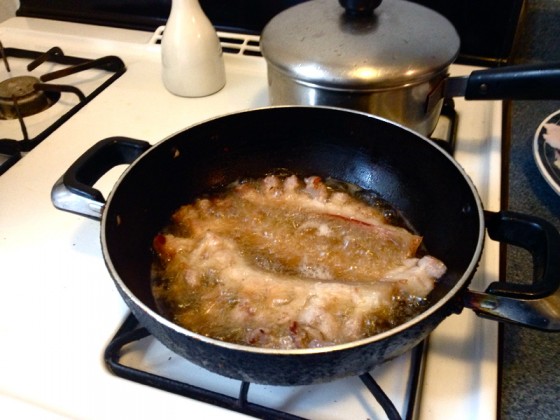
Chicharrón
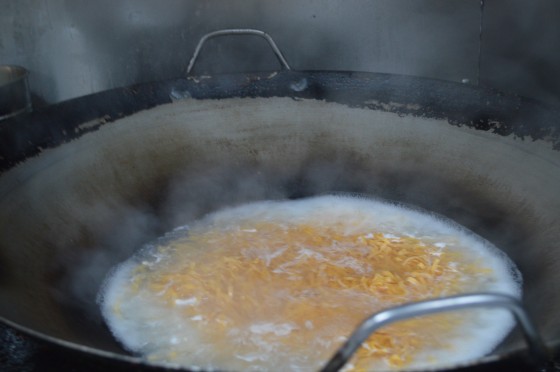
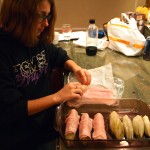
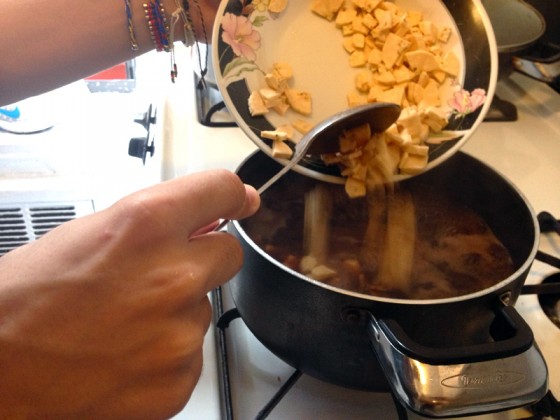
Wash the chicharrón, cut crevices into the meat so it is fully fried. Add salt to taste. Add enough oil into a frying pan to deep fry the chicharrón. Keep the chicharrón on medium fire until it is crunchy (make sure to place a top on the pan!)
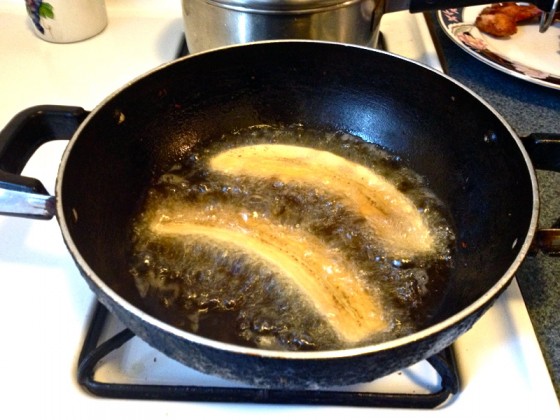
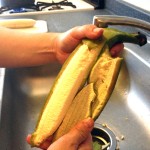
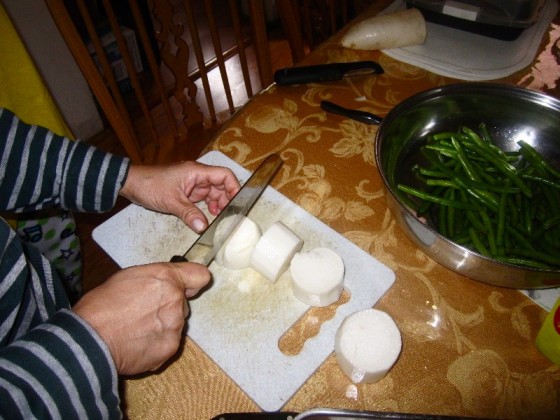
Maduro (yellow plantain)
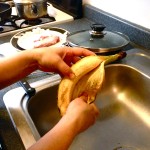
Wash the maduro, peel off the skin, and cut the plantain in half (the long way). Deep fry the plantain until it obtains a brown color (5 minutes).
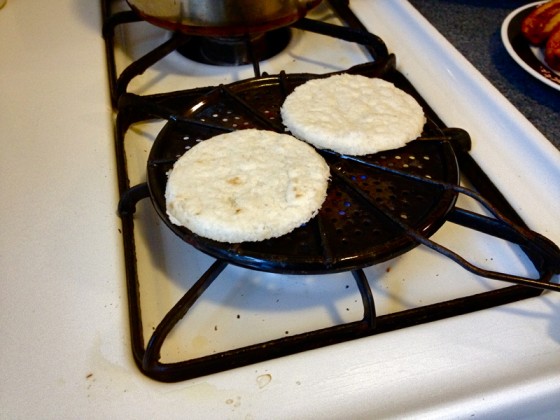
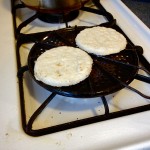
Egg, Arepa & Avocado
Use one egg and add oil on a pan and fry it. The arepa is placed on a grill pan, on medium flame for about 10 minutes. The avocado is sliced into four pieces and can be shared with 4 dishes.
All of these elements are then placed on a large plate or platter. Enjoy!