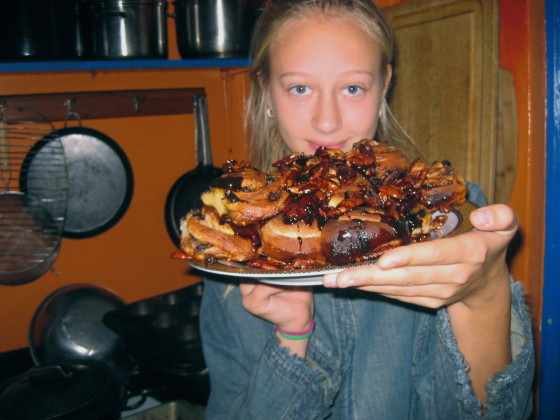


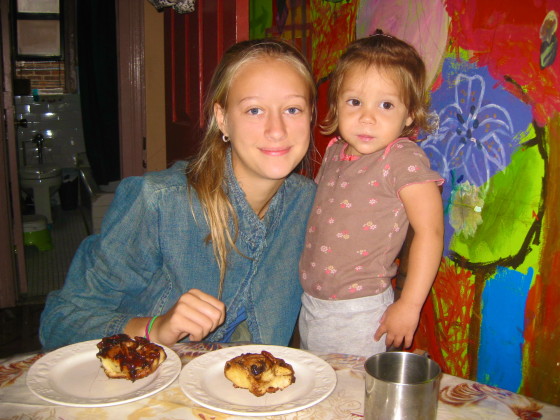
Welcome back to “The Kid Stays in the Kitchen.” Each week throughout the semester, a student is assigned to cook a traditional dish with a friend or family member and document the experience in photos and words. This post features Taieesa who made sticky buns with her mom.
If I had to pick a traditional dish from my family I would have to pick up a shelf of cookbooks because I don’t think that my mom ever cooked anything more than twice. Her cooking expeditions have ranged from sushi to paella and from habichuela con dulce to lobster with coconut. Her comfort food is freshly baked bread.
The rest of the cooks in my family bring in highly contrasting Russian, American, Dominican, and Argentinean cultures that have widened my world, but failed to provide me with a traditional dish that defines me and my family. However, a spontaneous decision on what to eat that night (no matter if the cookbook needs to be translated), as well as cooking side by side with my mother, is something that I can say is my family’s tradition.
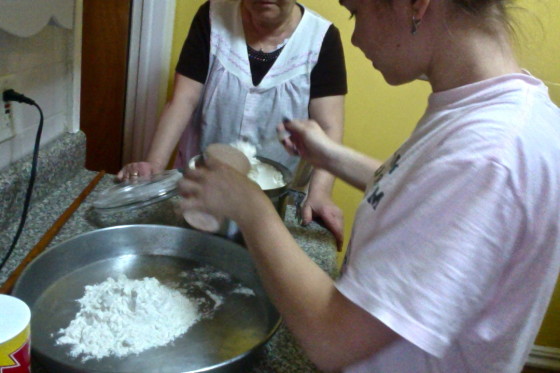
Cooking with my mother brings back memories of early childhood when I would put both hands in the flour container or move the electric beater through the batter in spiraling patterns. It also reminds me of how even though one half of my family can not communicate with the other, the food that we’re eating makes us a collective unit.
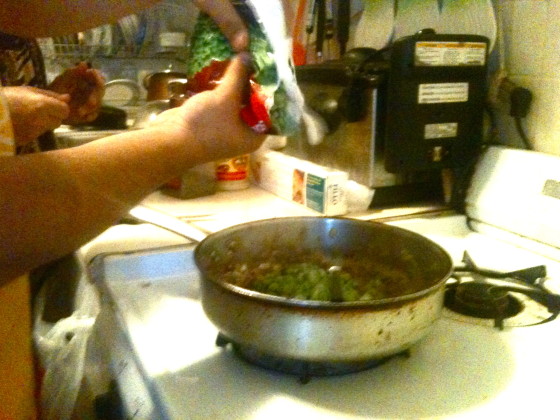
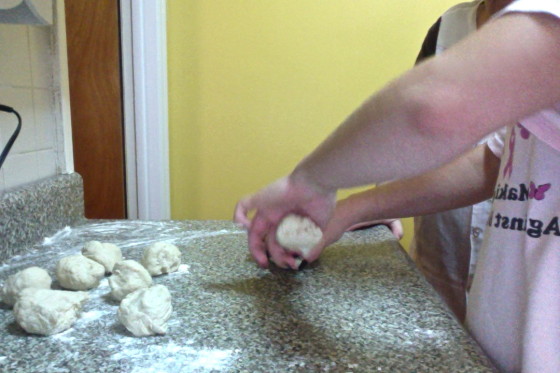
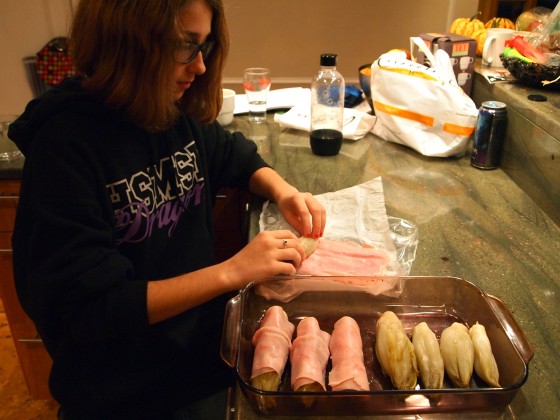
To cook a traditional dish from my family background I grabbed my mother and we made the impromptu decision to make delicious sticky buns.” – Taieesa
Sticky Buns (Recipe from Rose Beranbaum’s The Cake Bible, 1988)
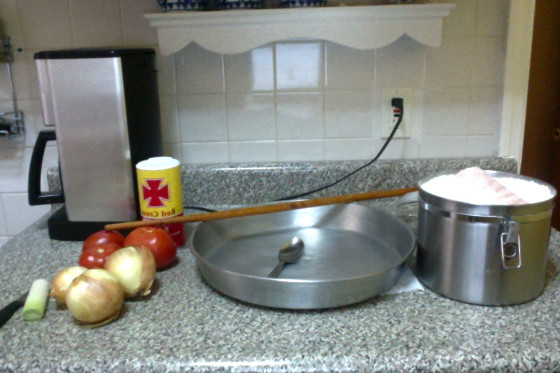
Ingredients
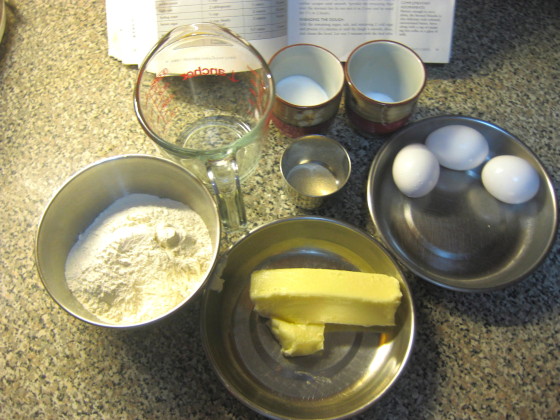
Brioche Dough:
- 2.5 tablespoons of water
- 3 tablespoons of sugar
- 1 1/2 teaspoons dry yeast
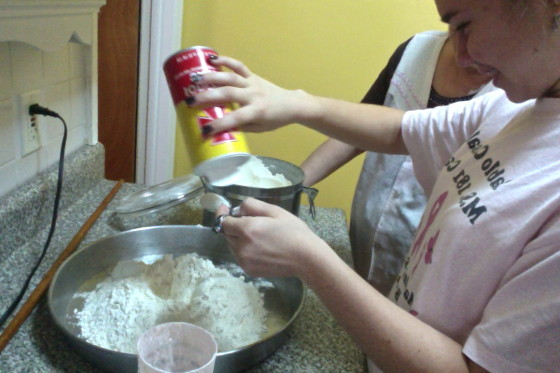
- 1 1/2 cups of unsifted bread flour
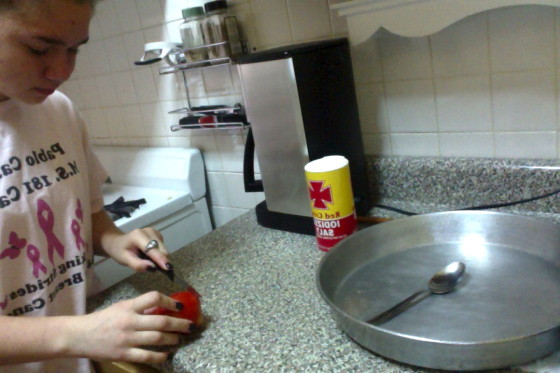
- 1/2 teaspoons of salt
- 1 large egg
- 2 large cold eggs
- 10 tablespoons soft unsalted butter
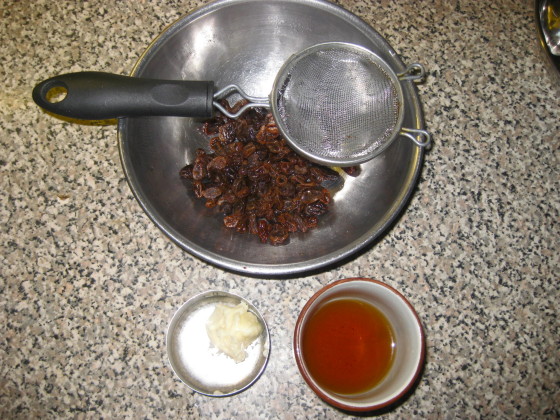
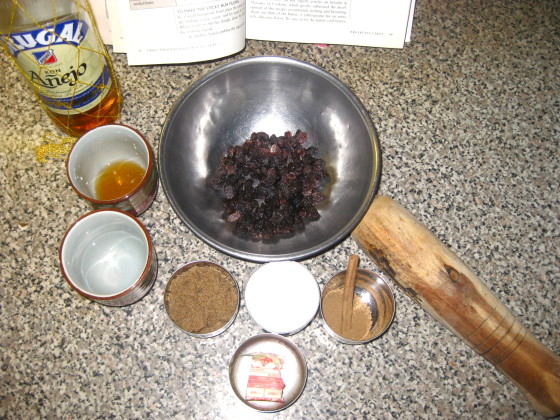
Sticky Bun Filling:
- 1/2 cup of raisins
- 2 tablespoons of dark rum
- ¼ cup of boiling water
- ¼ cup of light brown sugar
- 1 tablespoon granulated sugar
- 2 teaspoons cinnamon
- 2 tablespoons melted unsalted butter
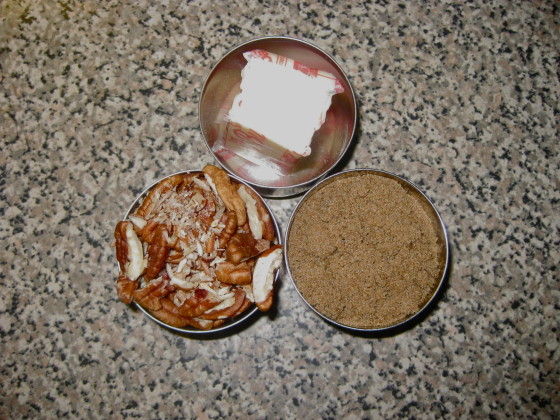
Sticky Bun Topping:
- ¼ cup of soft unsalted butter
- 1/2 cup firmly packed light brown sugar
- 1/2 cup pecan halves
Sticky Bun Glaze:
- reserved raisin-soaking liquid
- 1 tablespoon unsalted butter
Directions
Brioche Dough
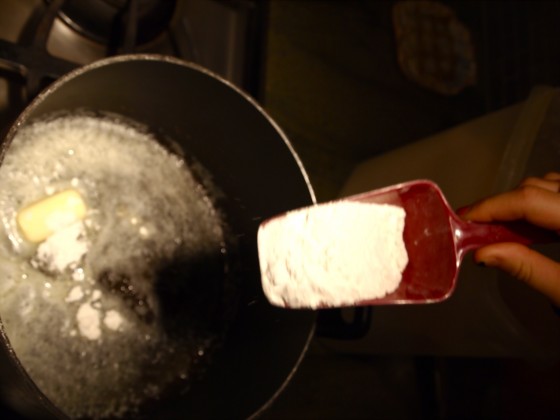
1. In a small bowl combine the 2 ½ tbsp of water, ½ tsp of the sugar, and the yeast. Set aside in a draft-free spot for 10 to 20 minutes, or until mixture is full of bubbles.
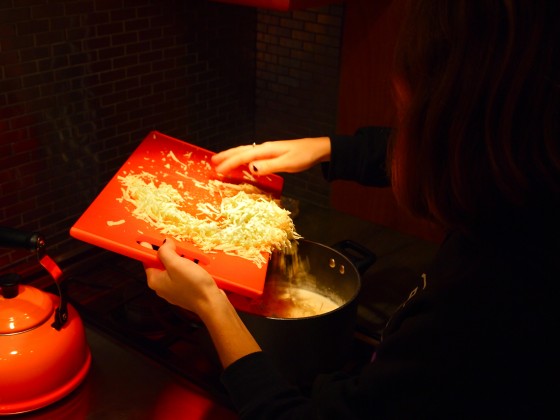
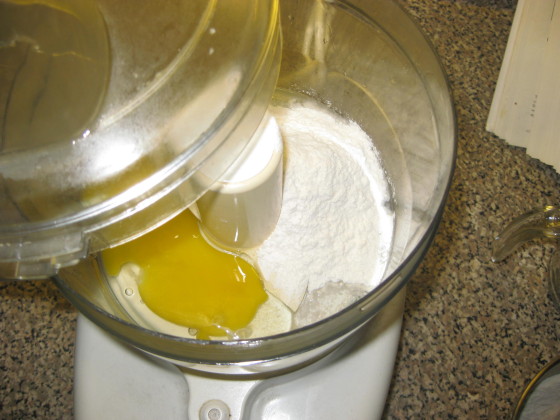
2. Place 1/3 cup of the flour and 1 egg in the food processor (using dough blade) and process a few seconds until mixed.
3. Add the yeast mixture and stir with a rubber scraper until smooth.
4. Sprinkle the remaining flour over the mixture, but do not mix it in. Cover and let stand for 1 ½ to 2 hours.
5. Add the remaining sugar, salt, and remaining two cold eggs.
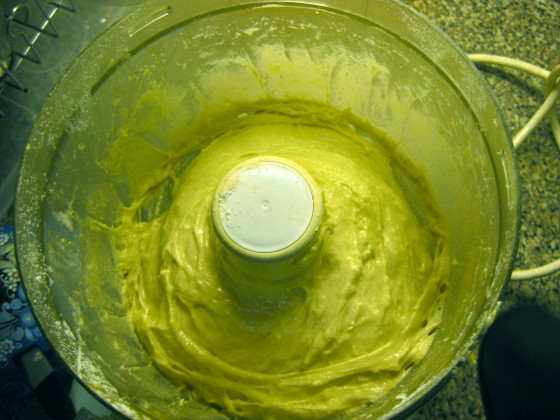
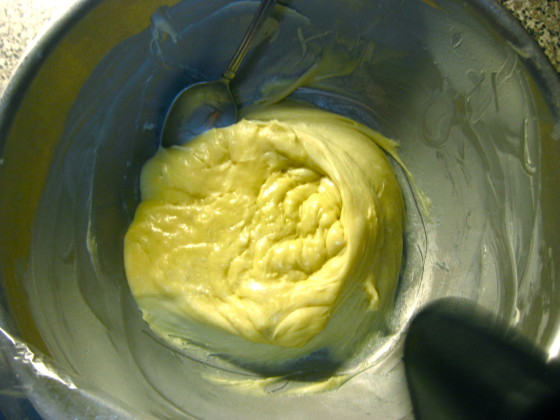
6. Process 1 ½ minutes, or until the dough is smooth, shiny, and cleans the bowl.
7. Let rest for 5 minutes with the feed tube open.
8. Add the butter in 2 batches and process for 20 seconds after each addition.
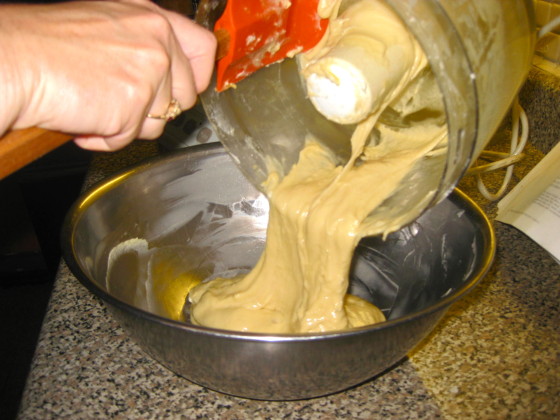
9. Scrape the dough into a lightly buttered bowl. Sprinkle lightly with flour to prevent crust from forming.
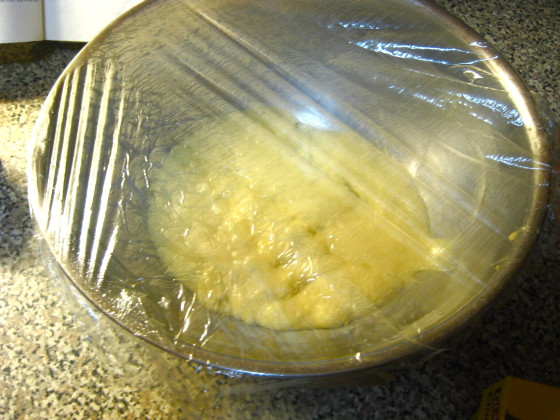
10. Cover the bowl tightly with plastic wrap and let rise for 2 hours in a warm place. Refrigerate for 30 minutes to an hour.
11. Deflate dough by gently stirring it and refrigerate for another hour.
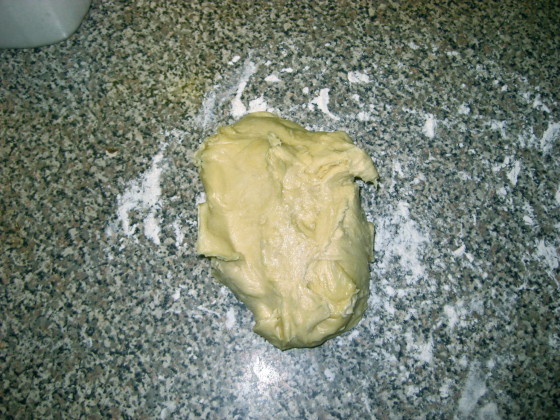
12. Turn dough onto a lightly floured surface and gently press into a rectangle.
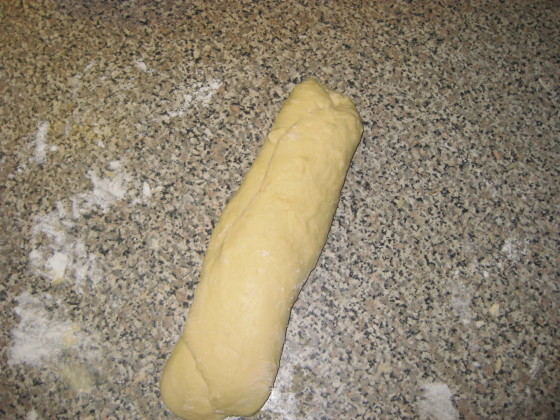
13. Fold the dough into thirds and again press it into a rectangle. Fold it once more into thirds and dust it lightly on all sides.
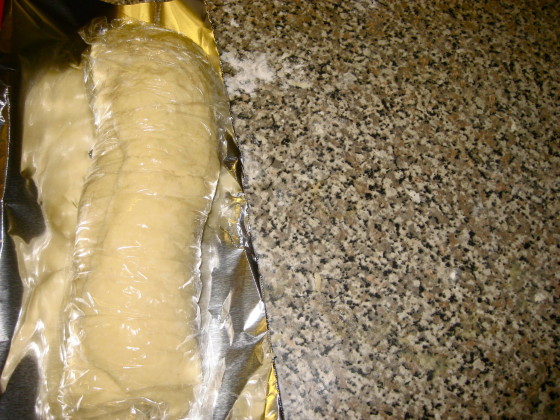
14. Wrap loosely in plastic wrap and then foil and refrigerate for 6 hours.
Sticky Buns Filling
15. Place raisins and rum in a small bowl. Add boiling water, cover, and let stand for at least an hour. In another bowl combine the sugars and the cinnamon.
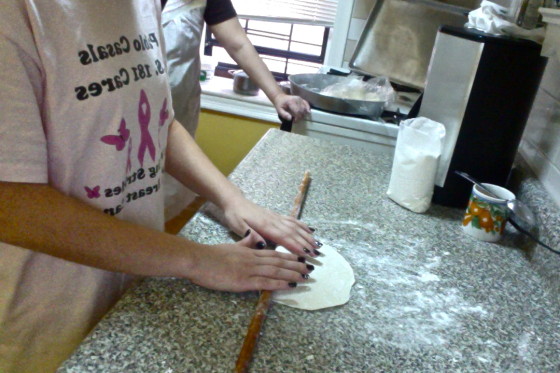
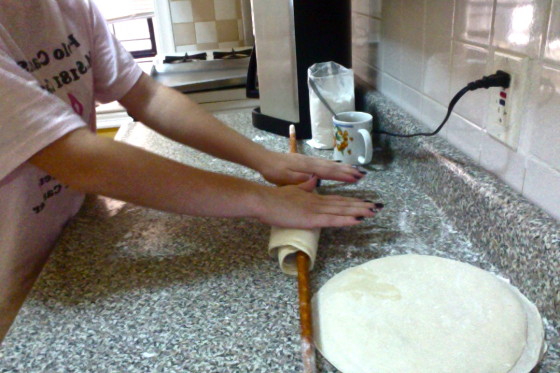
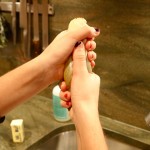
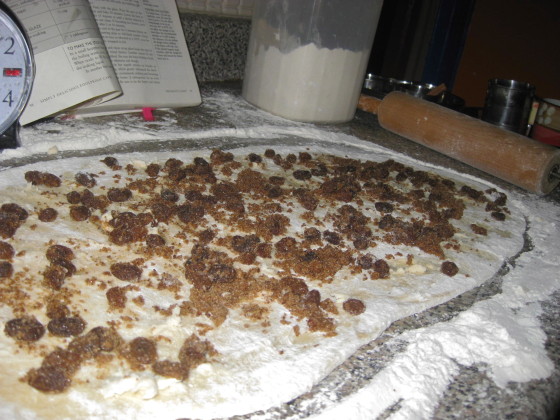
16. Roll out the dough on a well-floured surface into a 14in by 12in rectangle.
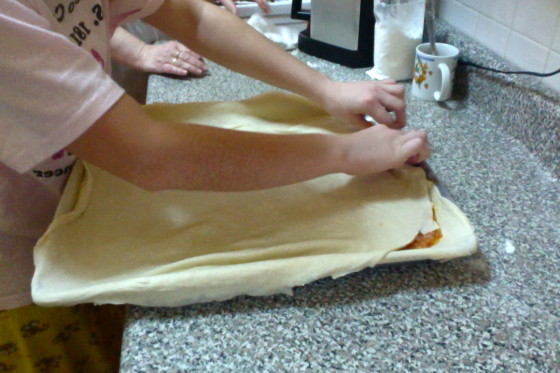
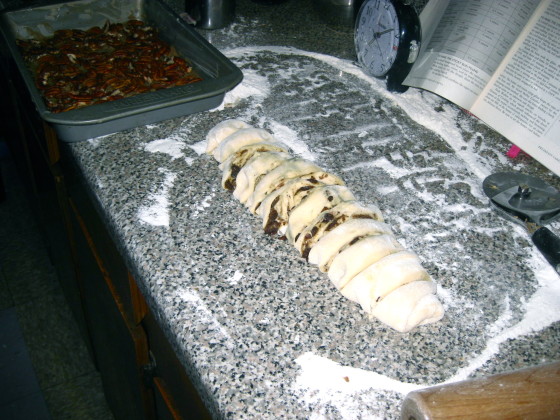
17. Brush with 2 tbsp melted butter and sprinkle with sugar mixture and raisins. Roll up from short end.
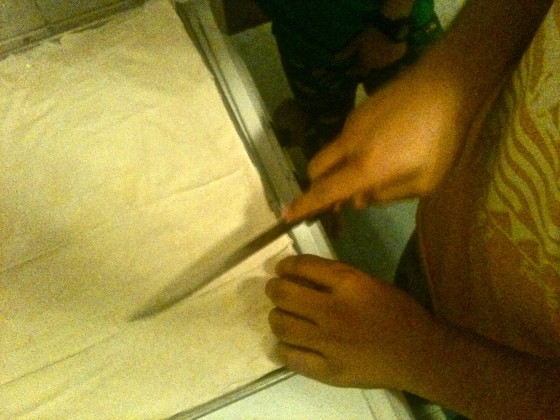
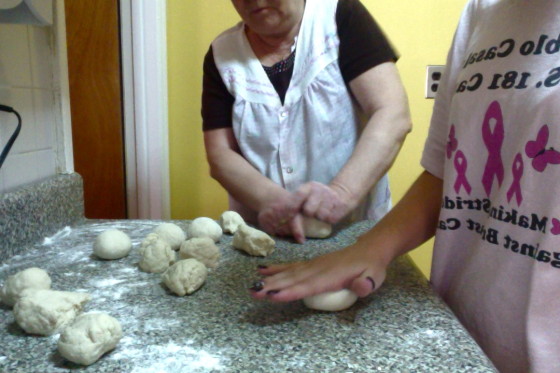
18. Using a very sharp knife cut the roll into 4 pieces, and then cut each piece into thirds.
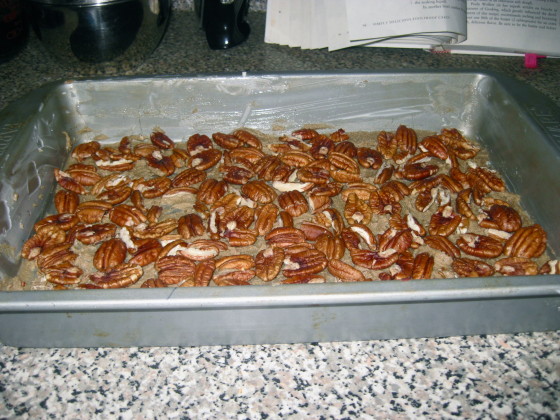
Sticky Buns Topping
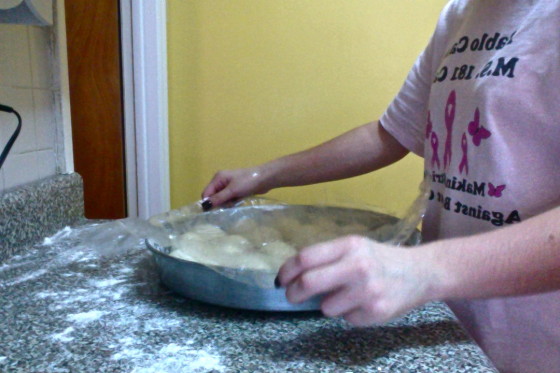
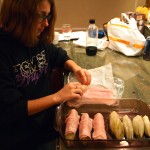
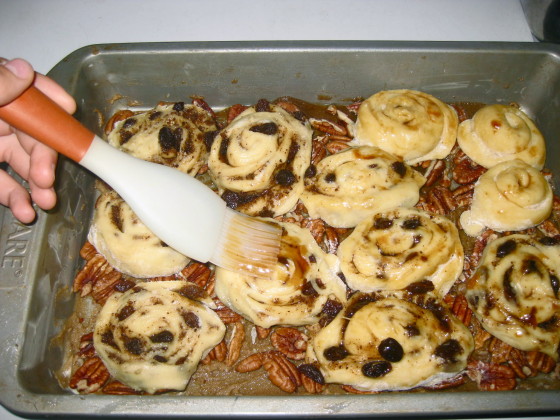
19. In a small bowl stir together the butter and the sugar until well mixed. Spread evenly in the prepared pan. Top with pecan halves, top sides down.
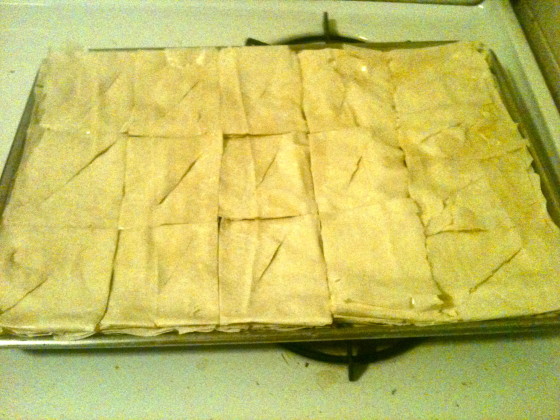
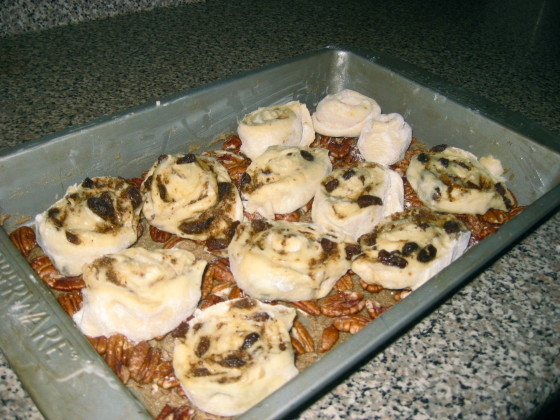
20. Place each dough piece in the prepared pan.
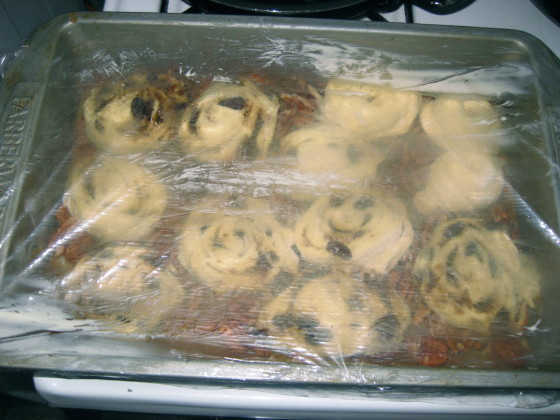
21. Cover with well-buttered plastic wrap and let rise for about two hours.
Sticky Buns Glaze
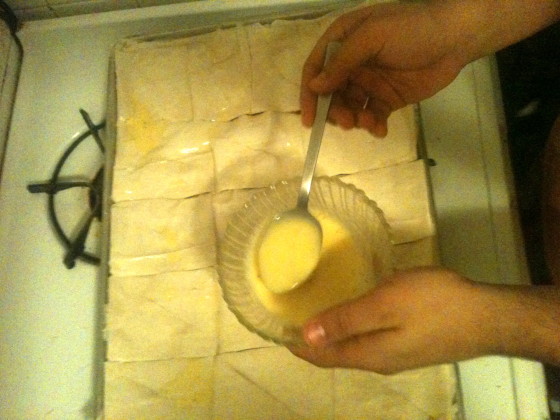
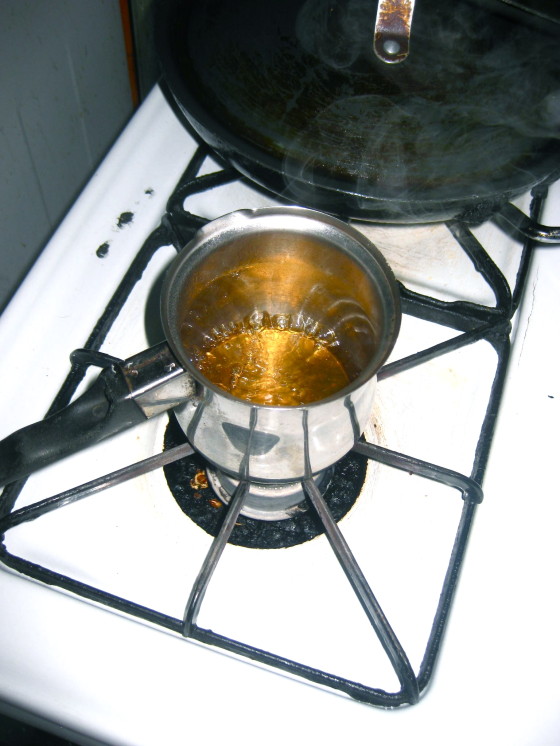
22. In a small saucepan over high heat reduce the raisin socking liquid to 1 tbsp. Add the butter and stir until melted.
23. Brush the buns with the glaze.
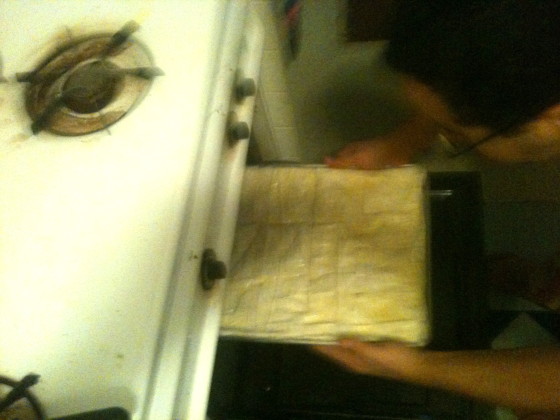
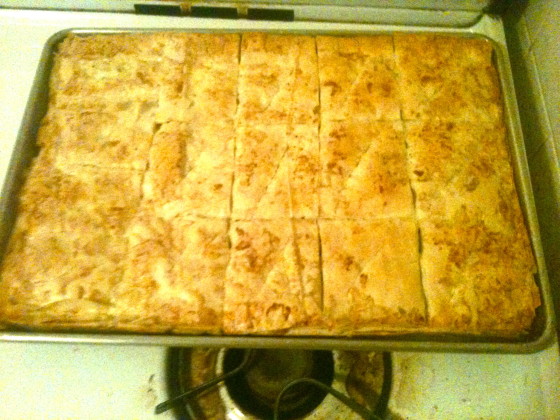
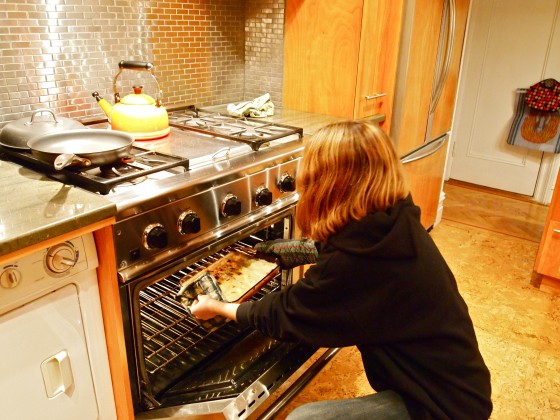
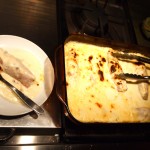
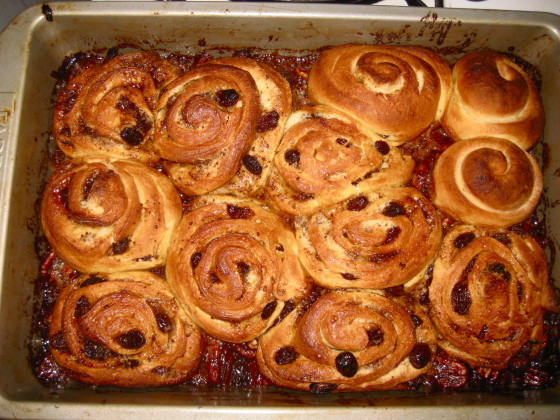
24. Preheat oven to 425°F and bake 10 minutes. Lower heat to 375°F and bake 15 minutes.
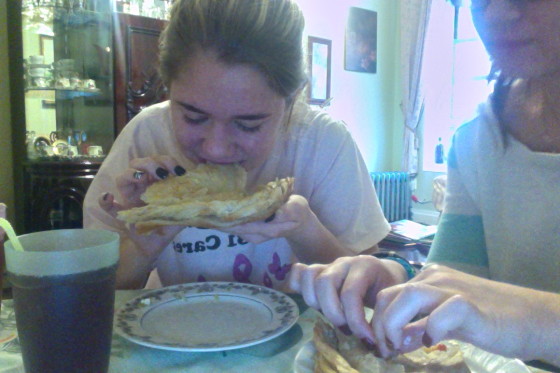
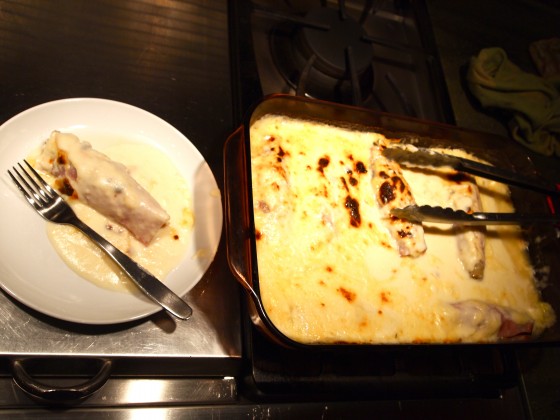
25. Let bus cool for 3 minutes and unmold onto a serving plate.
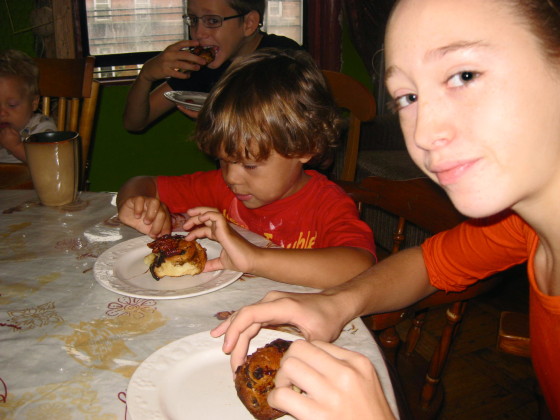
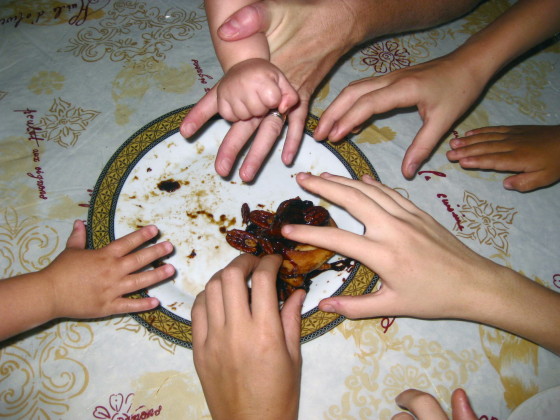
26. Enjoy!!