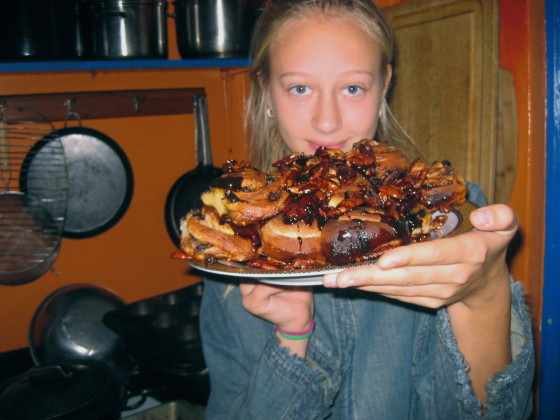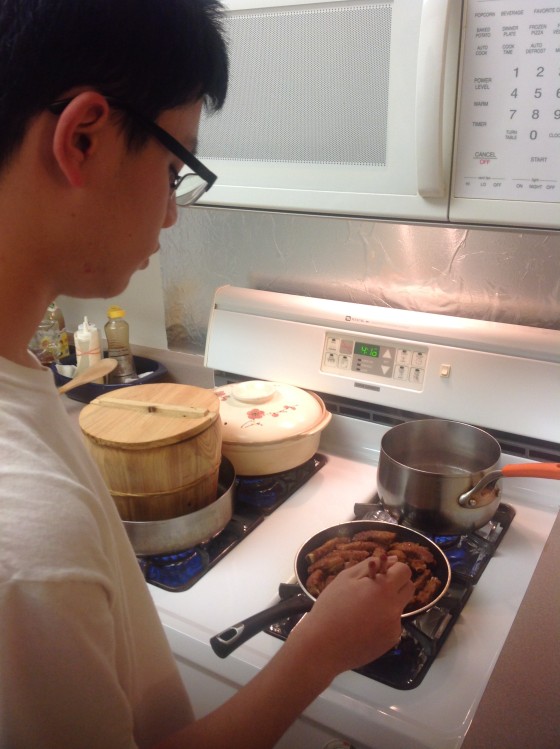
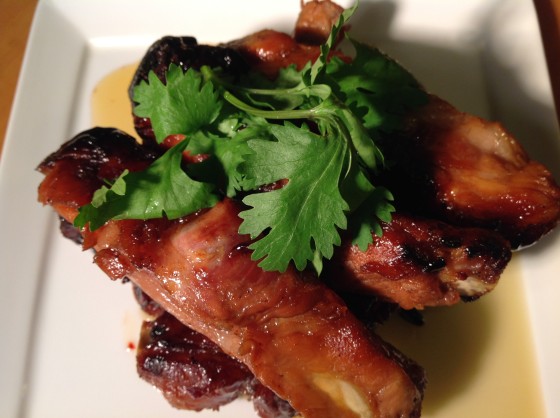
Welcome back to “The Kid Stays in the Kitchen.” Each week throughout the semester, a student is assigned to cook a traditional dish with a friend or family member and document the experience in photos and words. This post features Zhi Ming who decided to take the reigns from his dad and cook his favorite dish: caramelized ribs. Here’s Zhi Ming’s take:
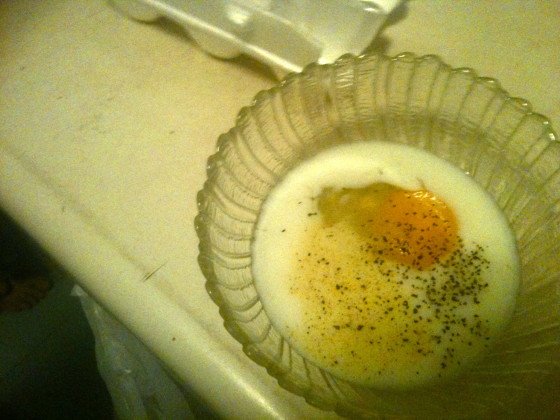
“The main ingredient in this dish is the rib, but the method involved in cooking this dish can also be applied to many other forms of meat. My grandmother passed this recipe down using eggs or chicken feet. But it also works extremely well with potatoes and since it really sucks in all the flavors the outcome is phenomenal. This dish originates from southern China, where my family is from, and the tradition of cooking is largely influenced by the variety of spices and herbs that inhabit that part of southern China.
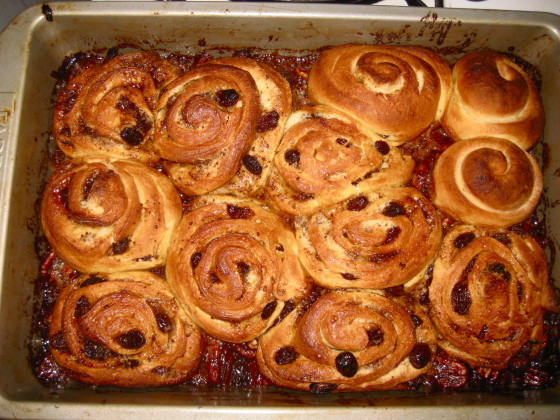
My father cooks this dish often and I love it. Initially, he experimented with the dish and I volunteered to try it, which I enjoyed, so from that my father cooked it almost every day of the week. Luckily I haven’t gotten sick of it and still find it terribly delicious. In this case, the ribs will have a citrus and burnt sugary taste that permeates the flesh. The flesh can also be easily peeled off the bone if it is cooked for an even longer time. This is exceptionally nice because it takes the work out of having to chew off the meat!”
Ingredients
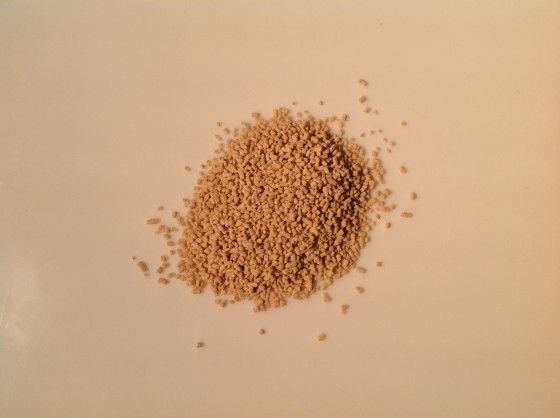
- 1.5 teaspoons Hondashi® Fish stock
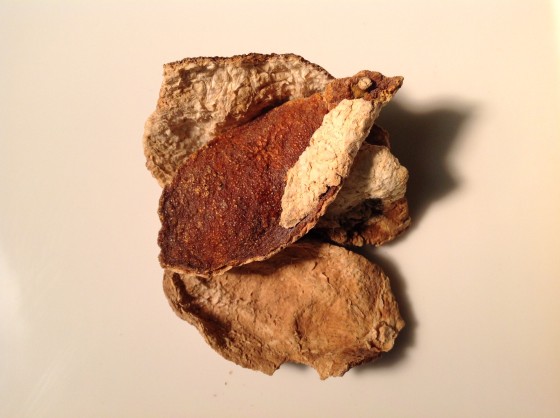
- Two pieces of dried tangerine peels
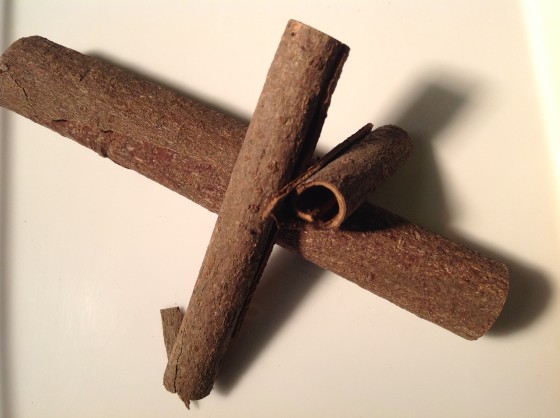
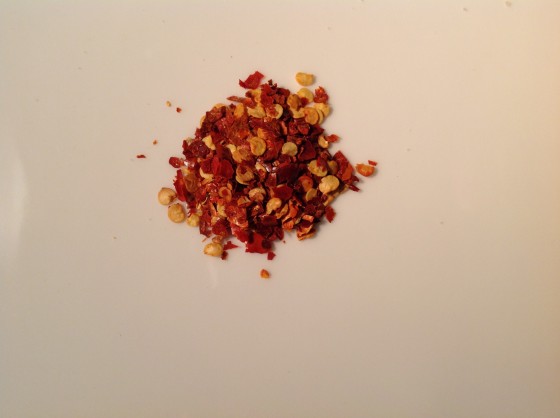
- Five grams of cinnamon
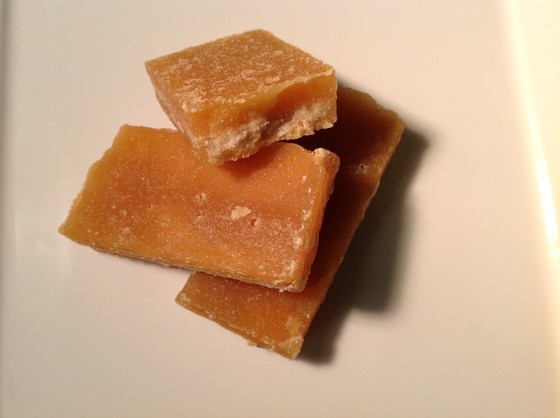
- Ten grams sucrose/brown sugar
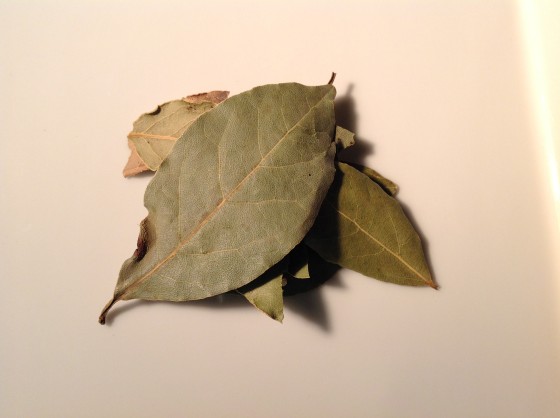
- Three bay leaves
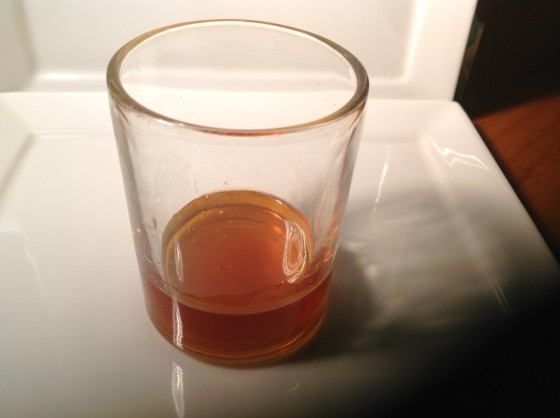
- Two teaspoons of honey
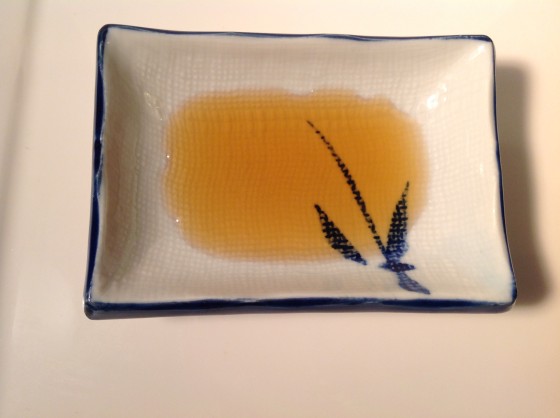
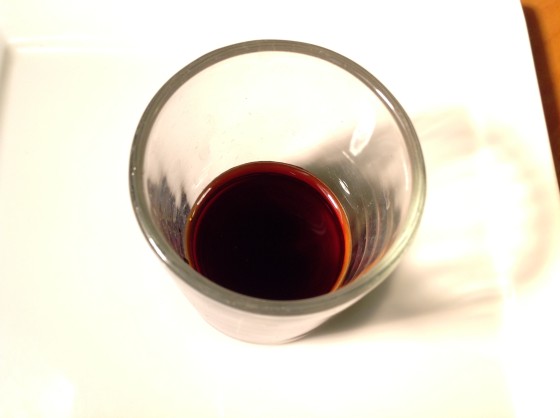
- Three teaspoons of soy sauce
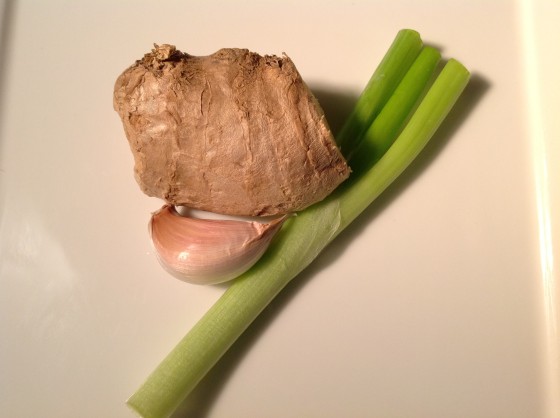
- A stalk of scallion
- Two flat cut pieces of ginger
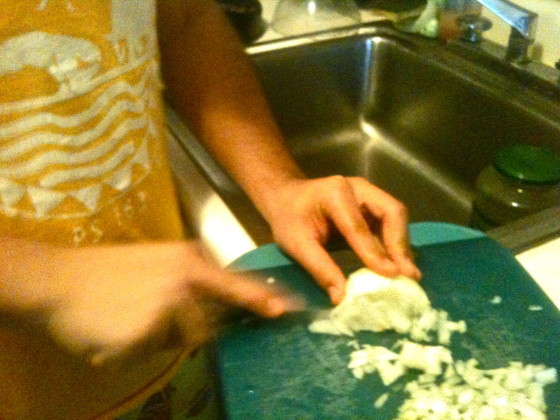
- ¼ of a garlic
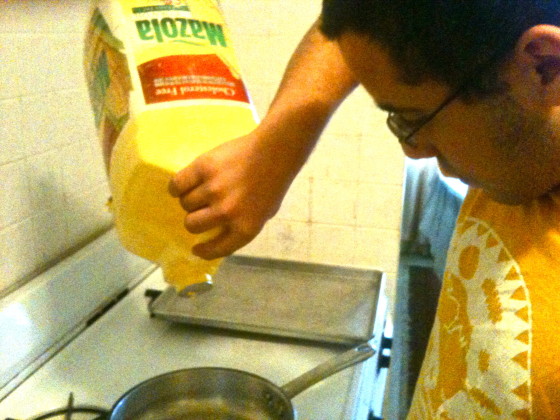
- One teaspoon of sesame oil
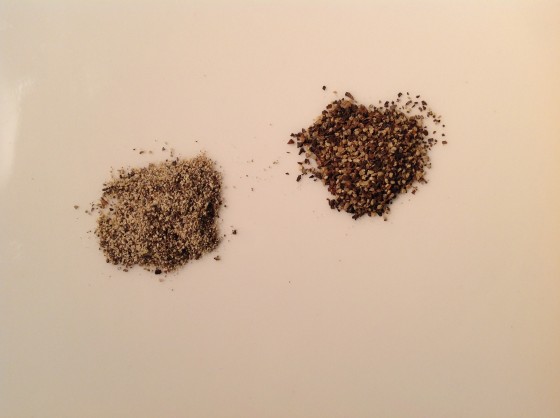
- A pinch of black pepper
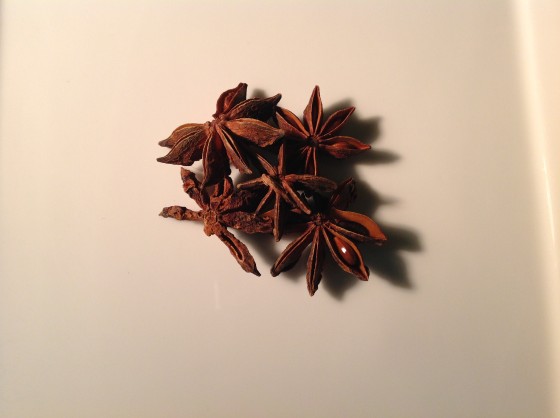
- Three pieces of star anise
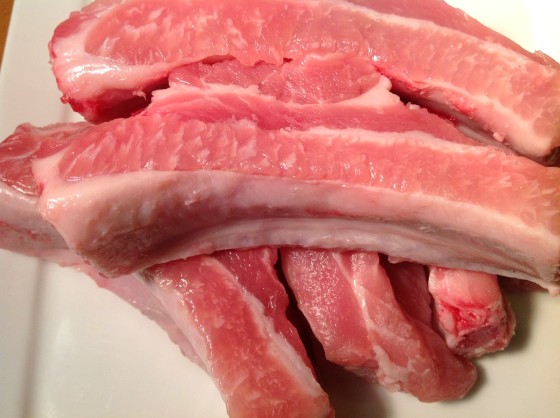
- Five pork ribs
Directions
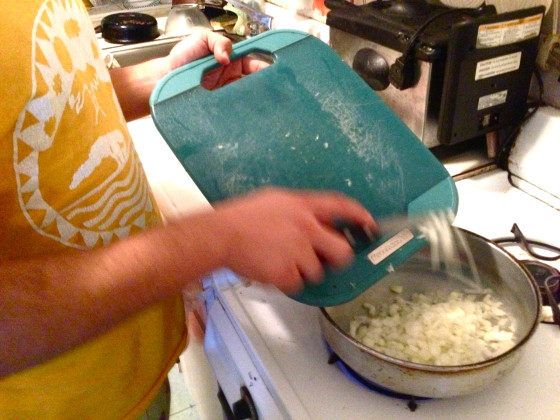
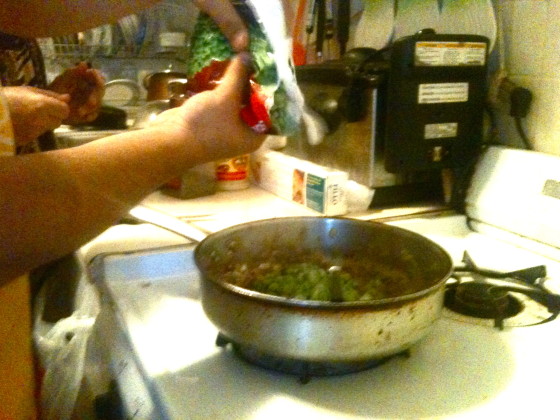
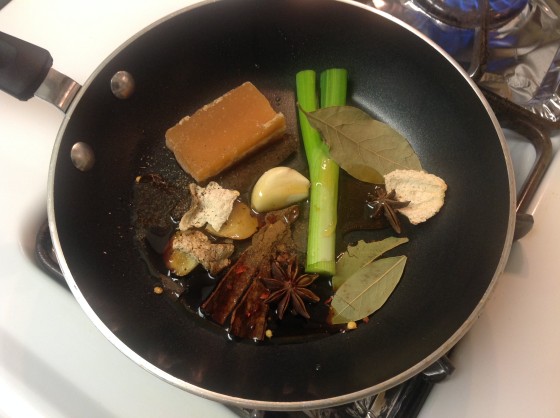
1. First add sesame oil to the heat pan set to low then add all of the ingredients listed above, except for the ribs.
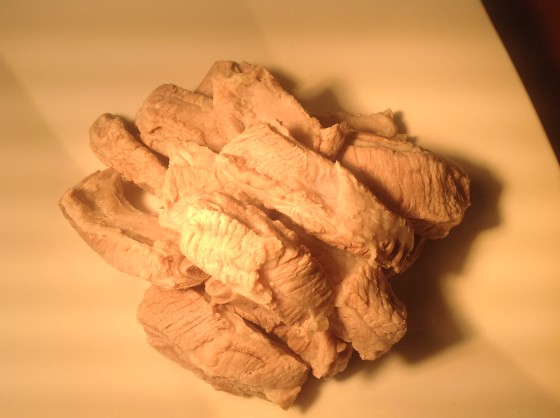
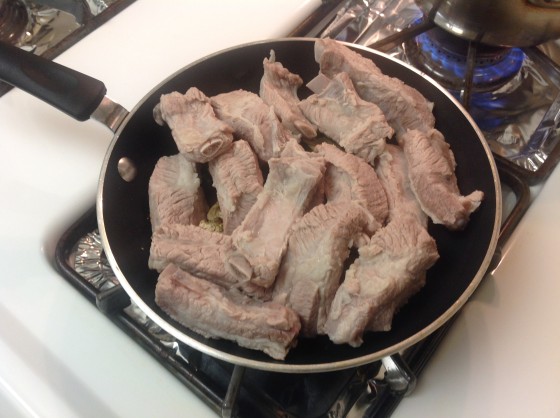
2. Place the ribs in a separate pan, fill with water, and boil until the flesh becomes white.
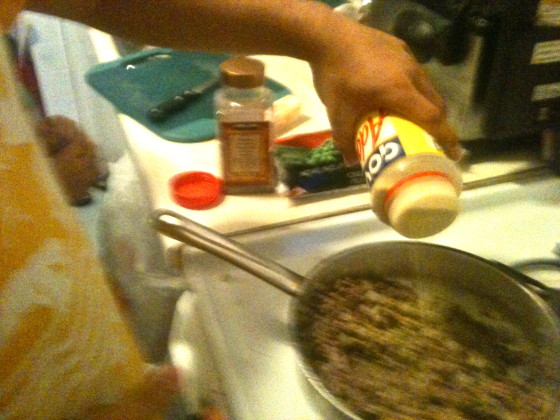
3. Slowly cook the ingredients in the pan until the sucrose, or bar of brown sugar, begins to dissolve into a viscous liquid, as well as all the other ingredients begin to permeate and mix with the dissolved sugar.
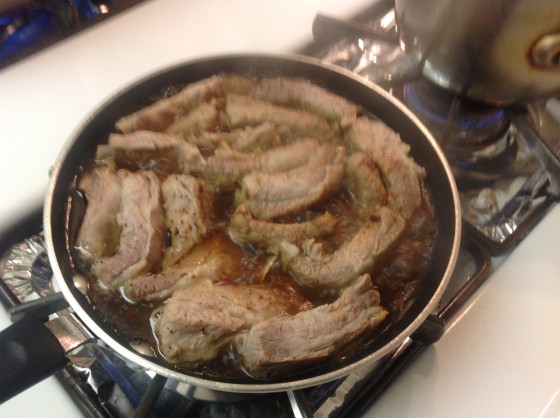
4. Once the ingredients meet the criteria in step three, slowly pick the boiled ribs and place it in the pan with all the other ingredients, slowly and individually, each rib one at a time. Then keep adding water into the pan, until the water level is to that of the meat. Do not submerge the ribs!
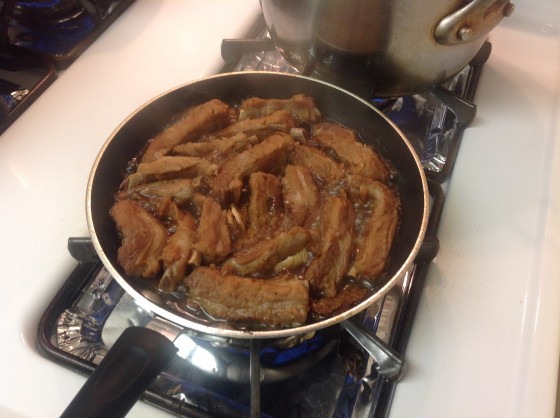
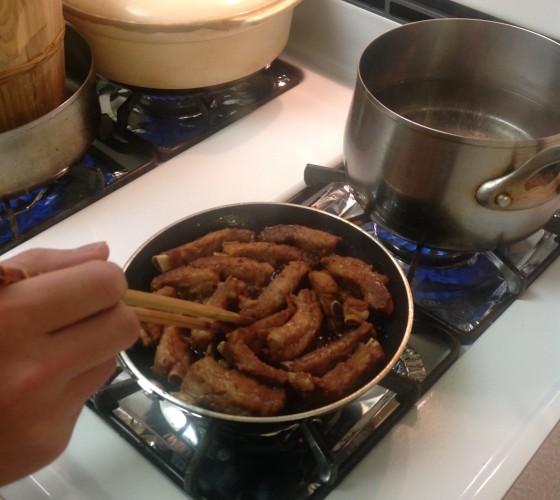
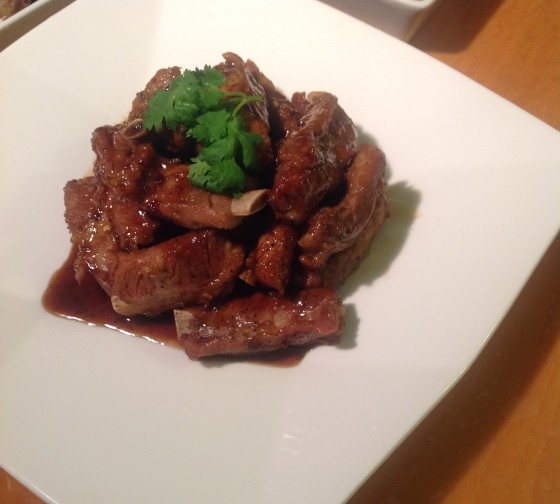
5. Keep cooking the meat until almost all of the water is evaporated, the meat should turn to a light golden brown color. Once the water in the pan is mostly evaporated, the meat is pretty much ready to go. The bottom of the pan should, if done correctly, have a puddle of liquid sucrose, which can also act as sauce.